Posted in
  Tags:
Tags: Here is a DIY for Replacing a Rear Sway Bar in a 2002-2006 Acura RSX
Works For:
2002 Acura RSX
2003 Acura RSX
2004 Acura RSX
2005 Acura RSX
2006 Acura RSX
Source: AcuraWorld
installation of Progress rear sway bar.
ok ladies and ladies with extra meat hanging. here’s how to install a rear sway bar in your own GARAGE. i’m pretty sure all rear sway bars have the same installation. if not, probably just a slight difference.
Please note, this is my first time installing a rear sway bar.  also i had no idea of how to do it. the idea of how to install it just came to me when i saw the set-up of the stock rear sway bar under the car. so bare with me here.
i tried to take as many pics as i can and remember everything.
installation time period:
1. first time doing this: 3hrs max if you know where to find your damn tools or already know which ones you need.
2. done it before: probably 2hrs.
well, i had to buy me some tools first. 6ton jack stands, 
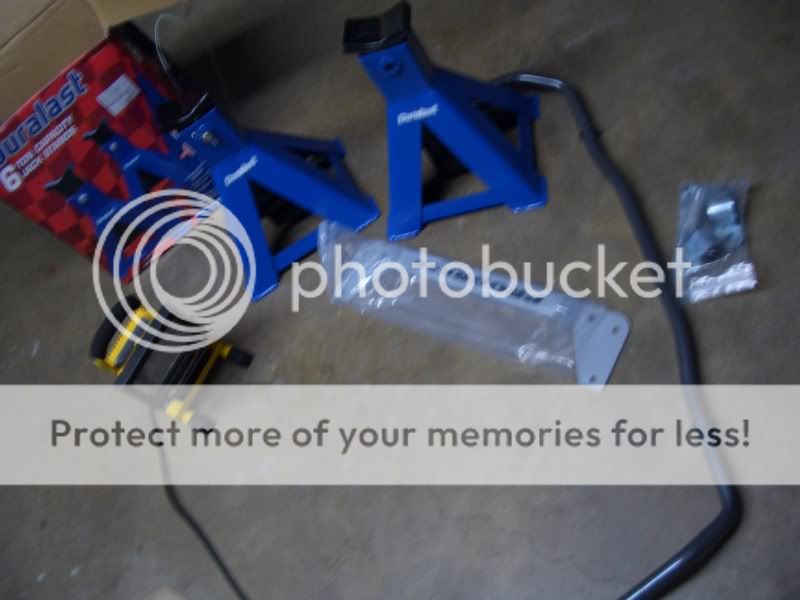

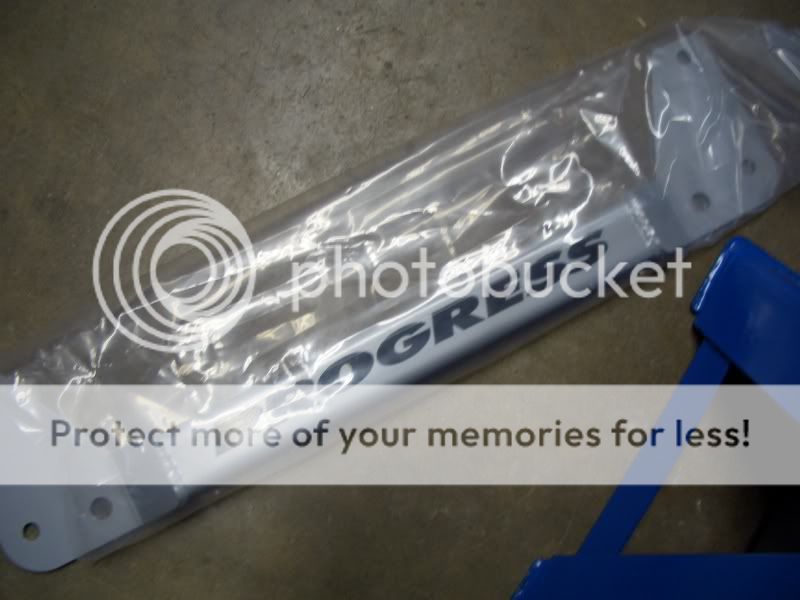
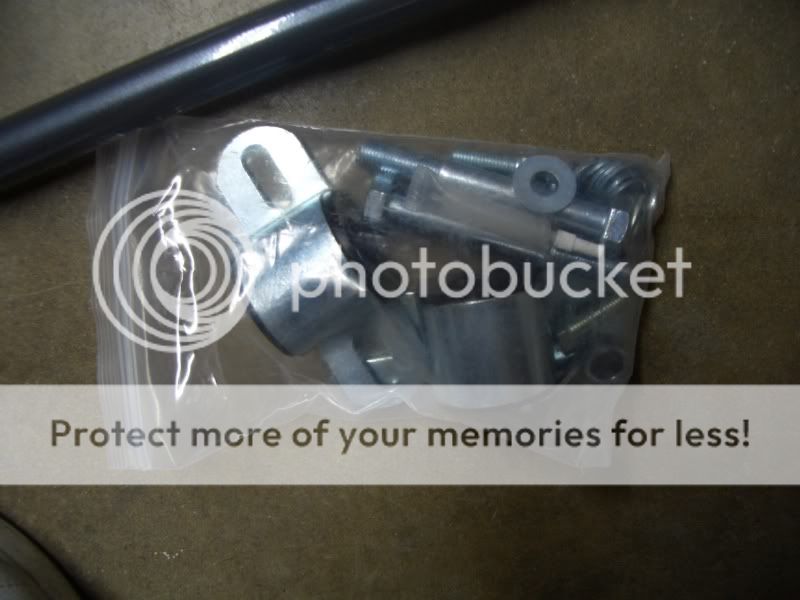
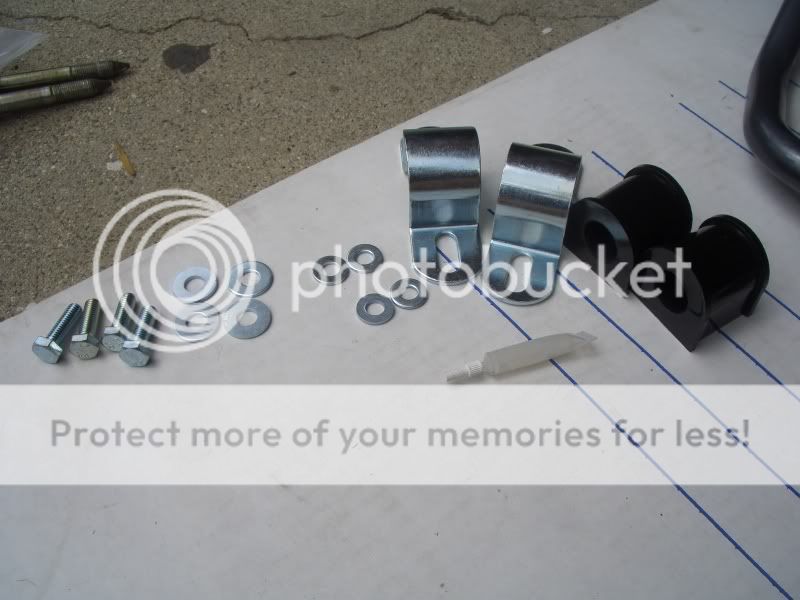
here are the materials that came with the progress rear sway bar.
first things first, remove your wheels and put your car on jack stands. put something in the front tires so the car wouldn’t fall on your ass just in case.
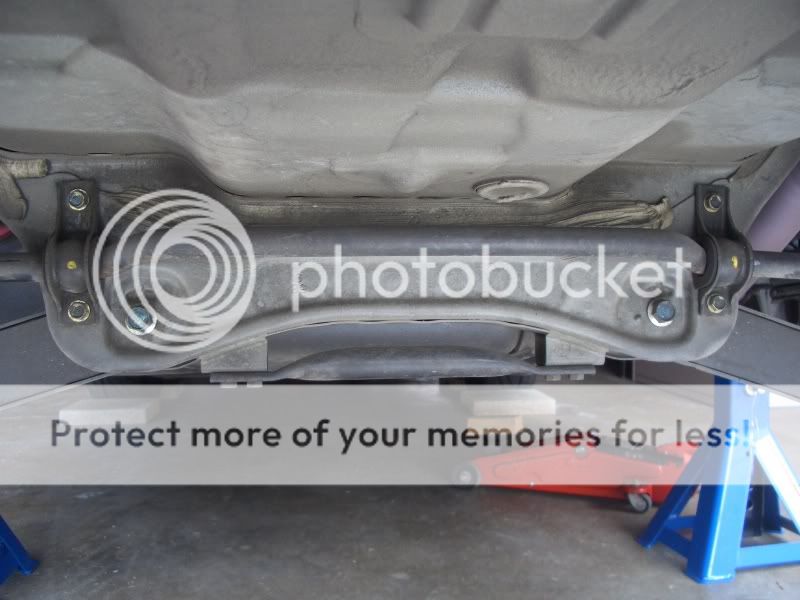
REMOVING THE STOCK REAR SWAY BAR!
remove the 4 bolts that’s holding the sway bar by using a socket wrench 12mm.
closer pic of the bolts 2 on each side.
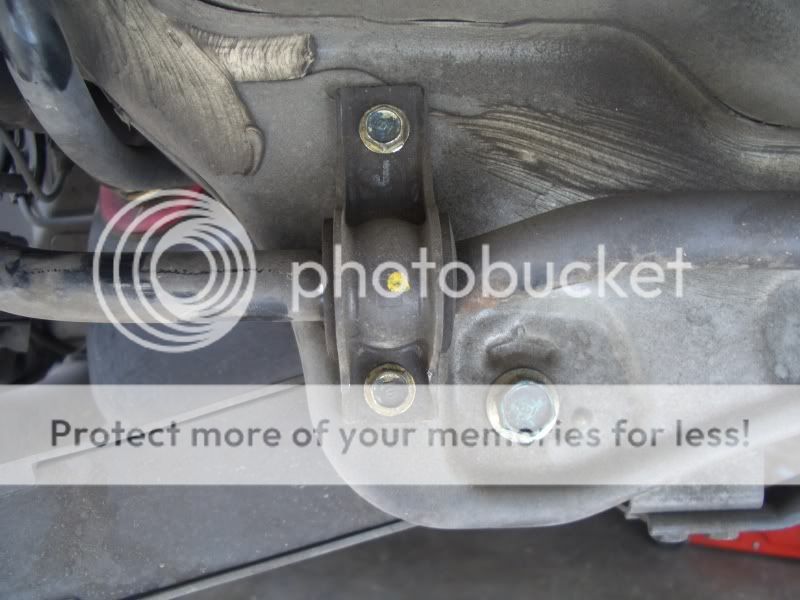
pic showing the bolts removed
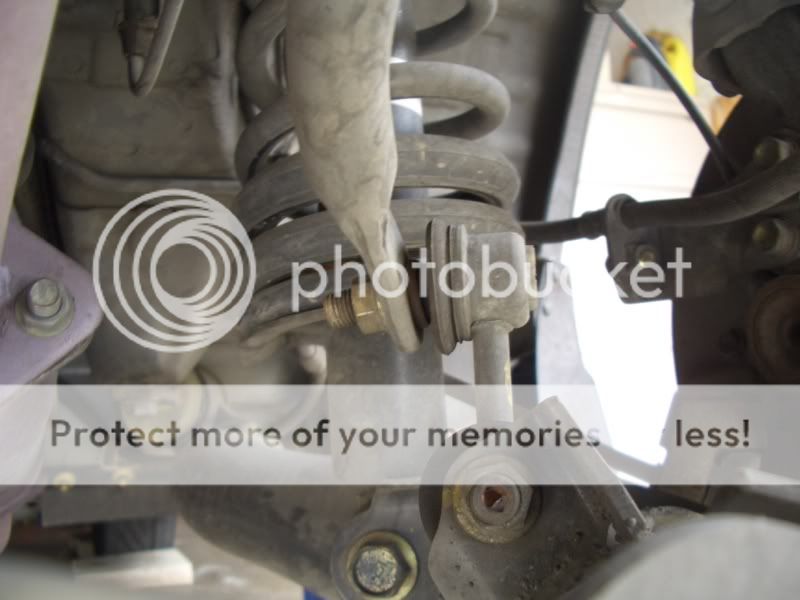
then remove both ends of the sway bar from the lower control arms (need a 14mm socket wrench it might be just 12mm, i forgot). make sure you have something holding the other end while trying to remove 1 bolt from each end or it’ll just rotate the whole thing.
closer pics

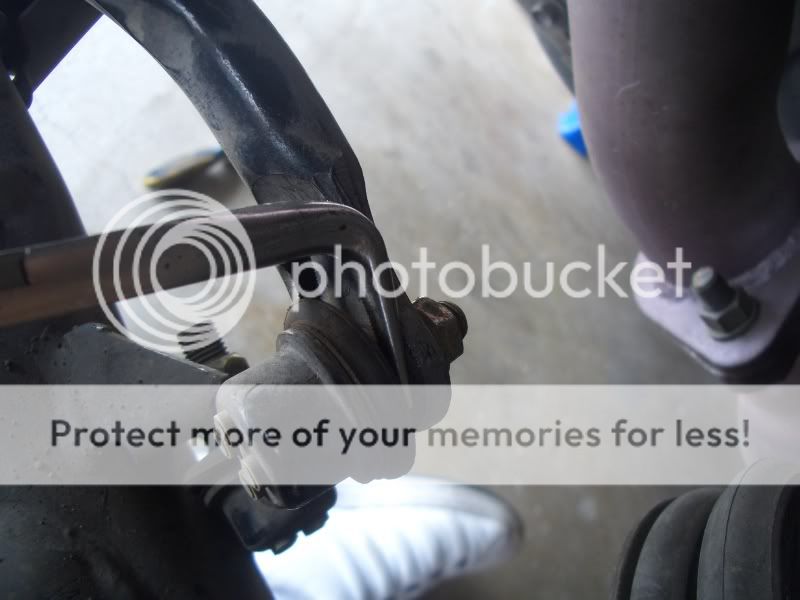
I used this (bent long nose) to hold the back while trying to remove the bolts.
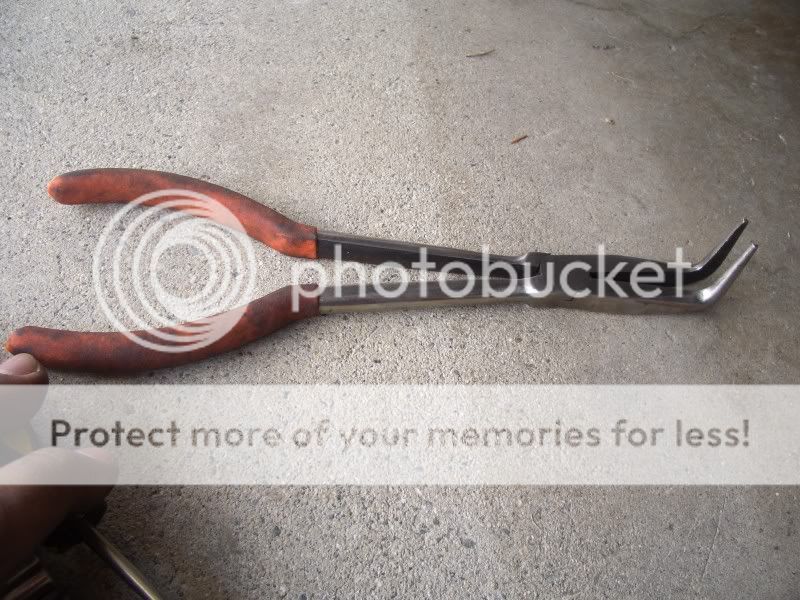
pic showing where i put the bent long nose while removing the bolt
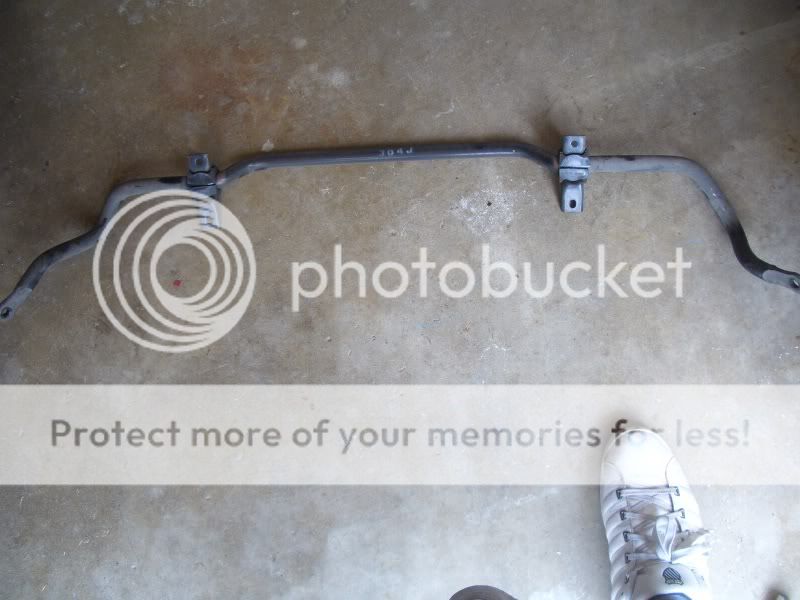
pics showing the stock sway bar laying on the floor
Installing the Rear Brace
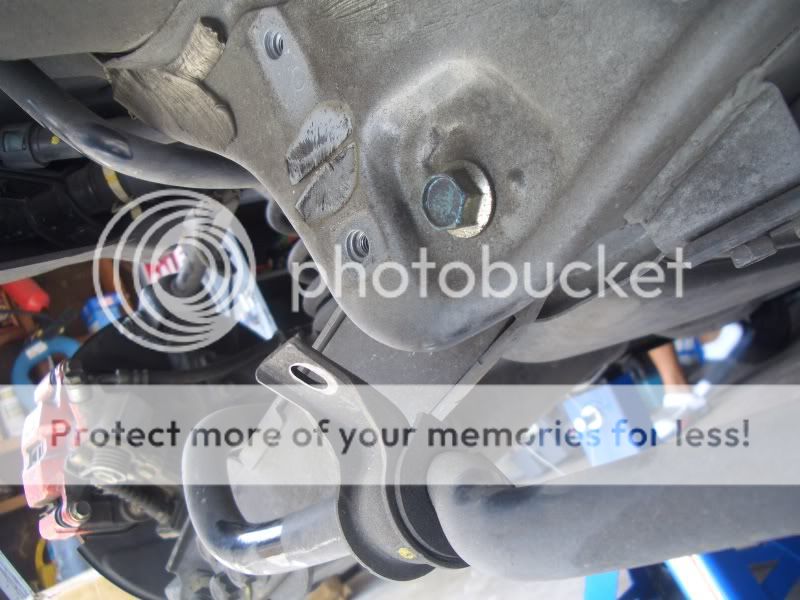
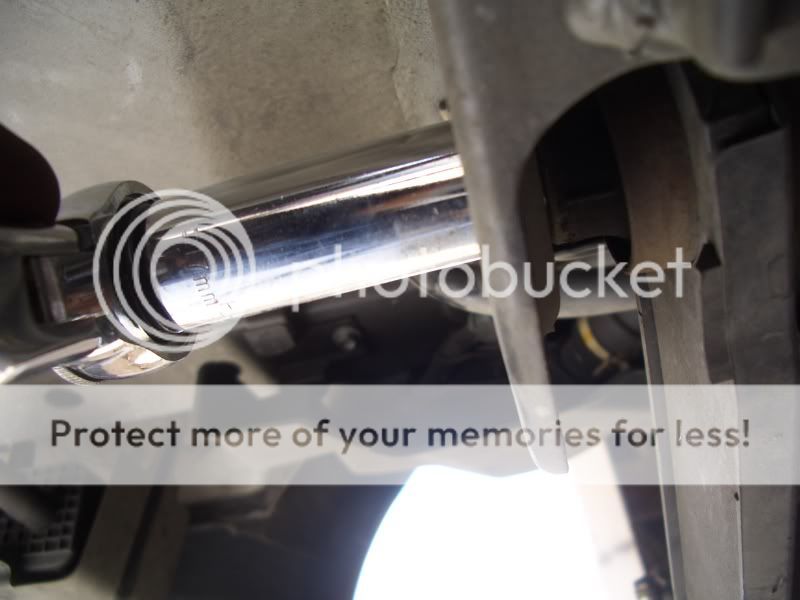
now get a 17mm socket wrench.

and remove one of this two bolts. i did it one at a time, cuz once you remove one bolt, the arm gets way off the hole.
pic while removing the 17mm bolt.
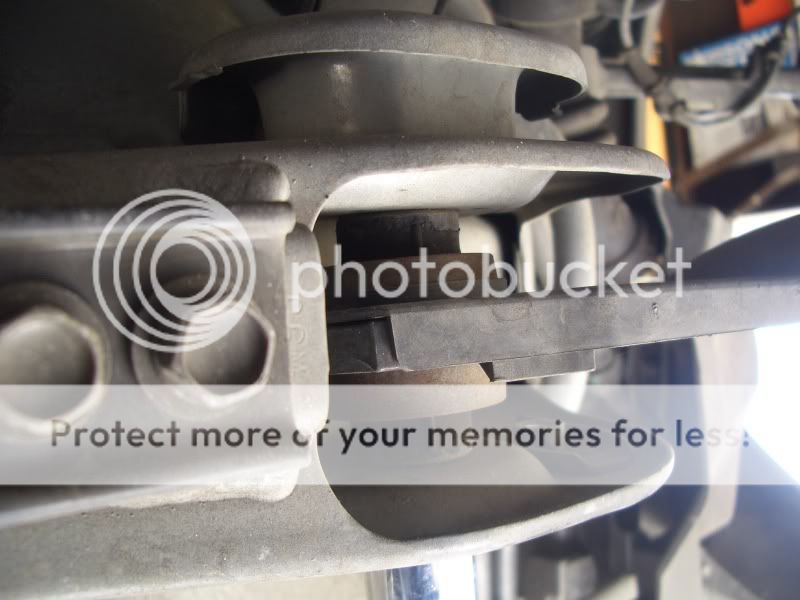
the part inside falls down a little making it off the hole and it’s not easy to put them back perfectly.
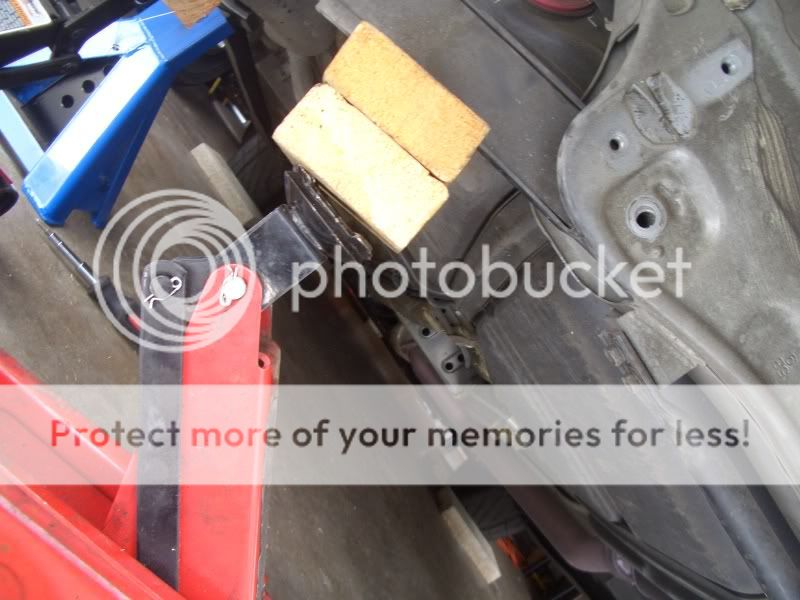
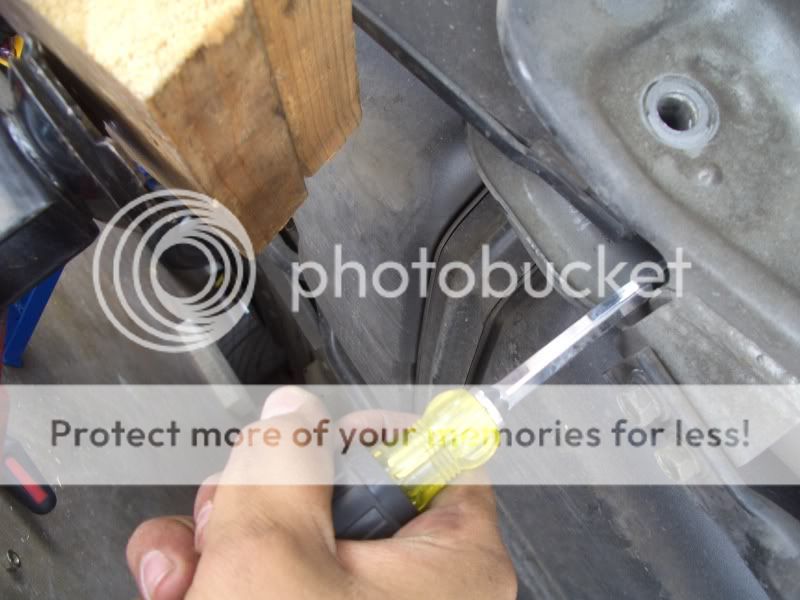
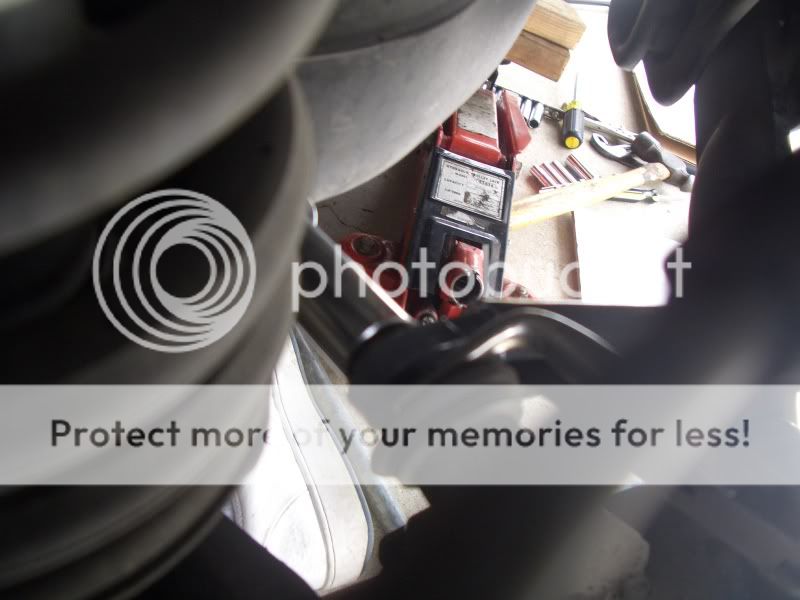
here’s what i did to put everything back centered. i used a couple of wood(cuz my other jack ain’t high enough, remember the cars already on jackstands.)and put it on top of the jack. also, i used a flat headed screw driver.
ok, let’s pause for a second. this is when i went to the bathroom. 
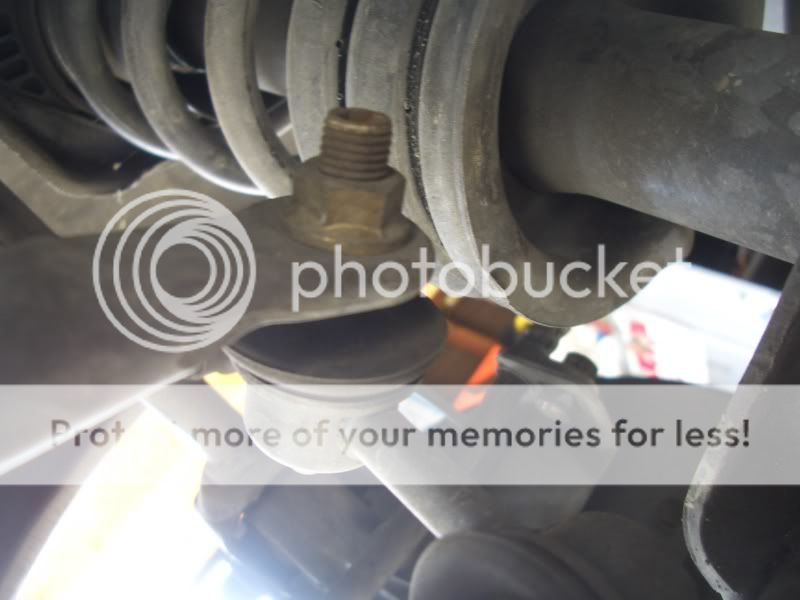
now, you will need a 19mm socket wrench cuz the new bolt that came with the new sway bar is 19mm.

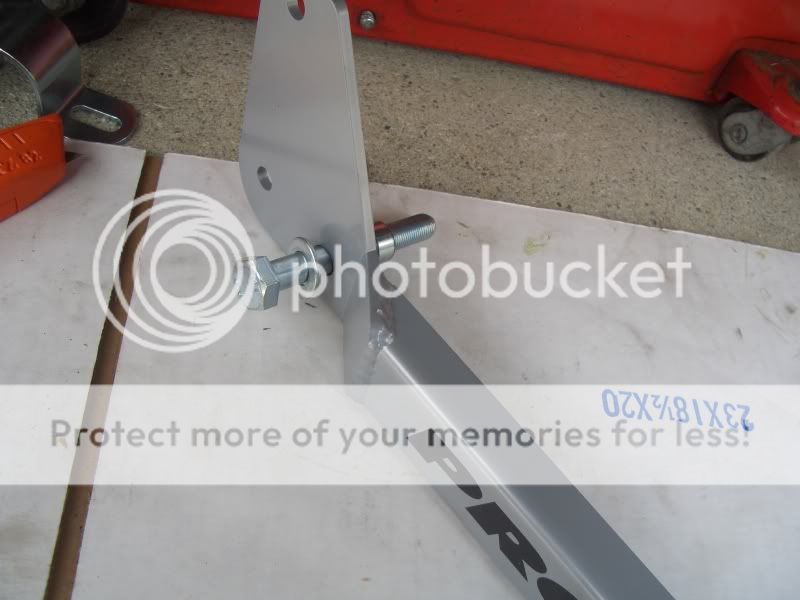
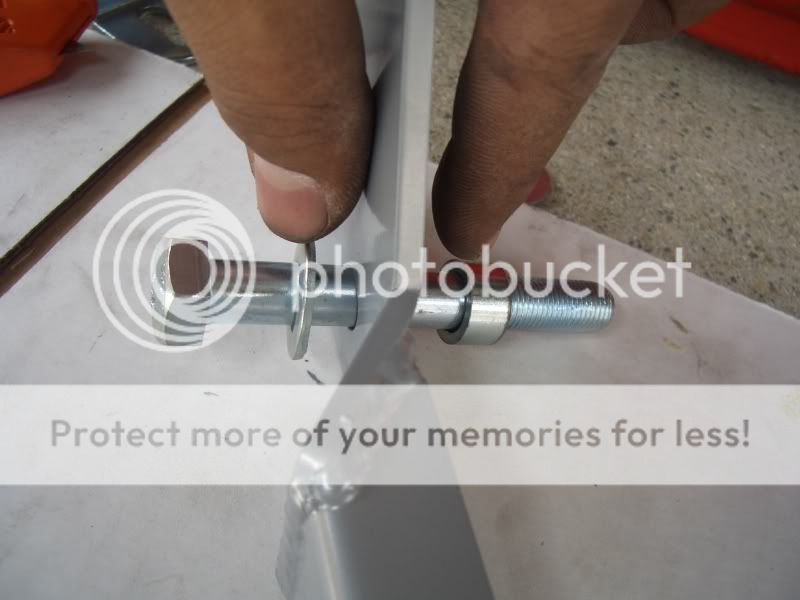
get the 19mm bolt, put the washer in the bolt. then, put the Rear Brace then the spacer.
better view
going back under the car.
screw that to where the 17mm bolt came from.
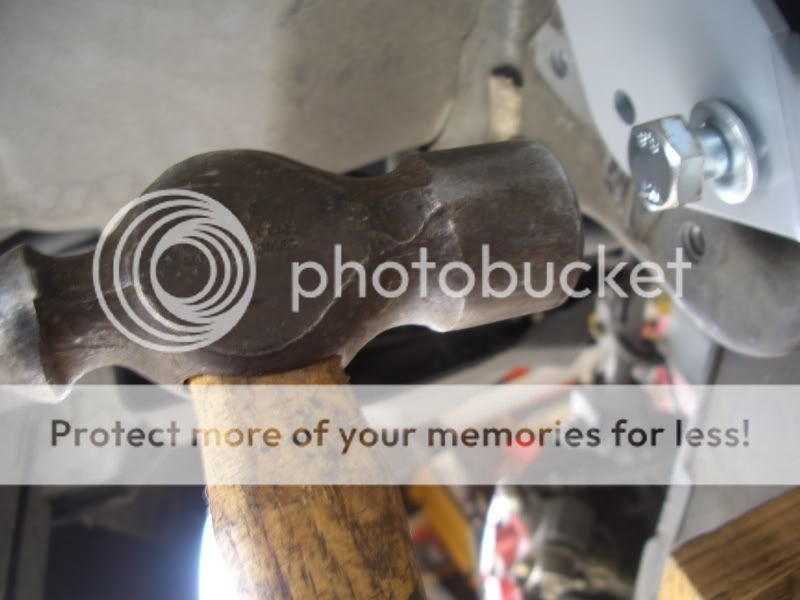
screw it then when you feel that it’s not going in anymore. hammer it in. then screw it in again. make sure it’s not tighen all the way yet. or you won’t be able to install the other side.
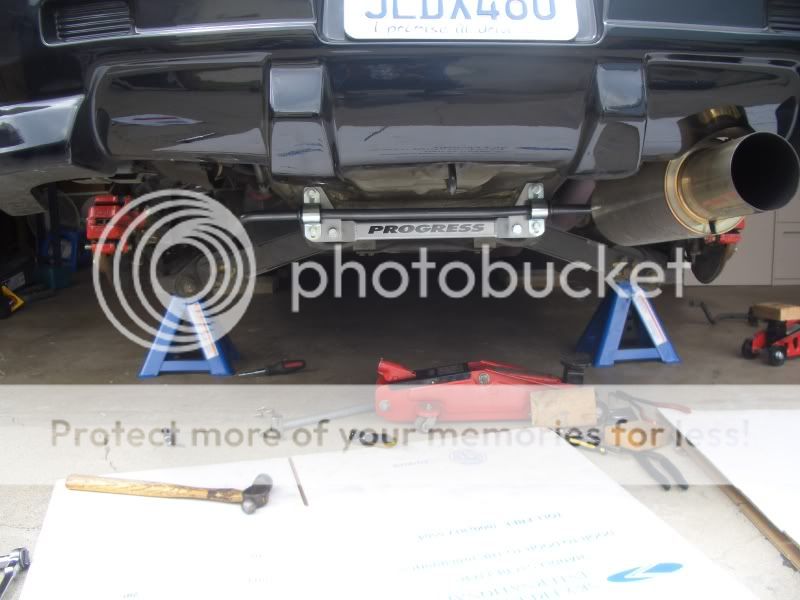
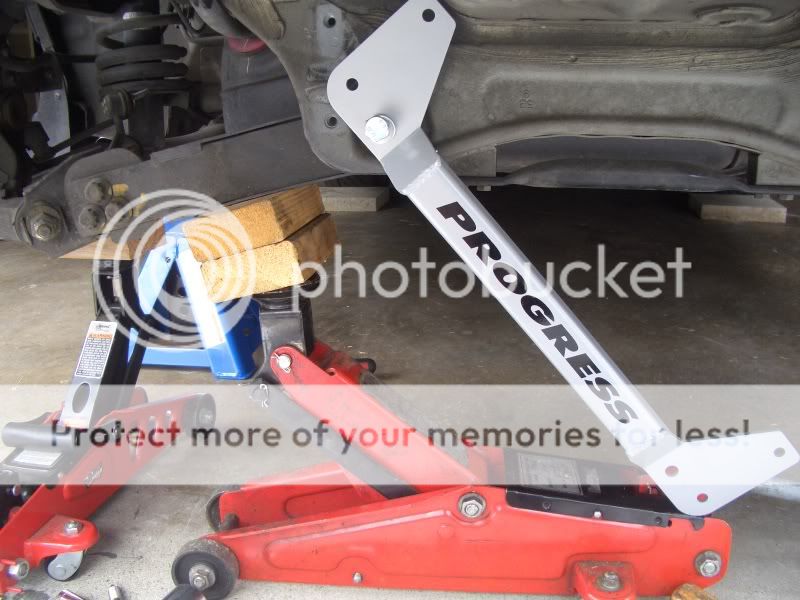
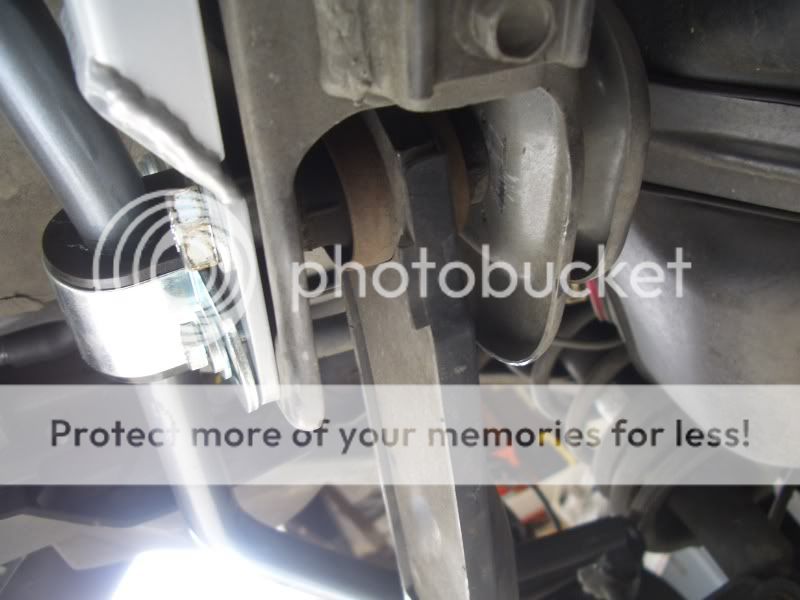
pic showing the 19mm bolt rear brace installed.
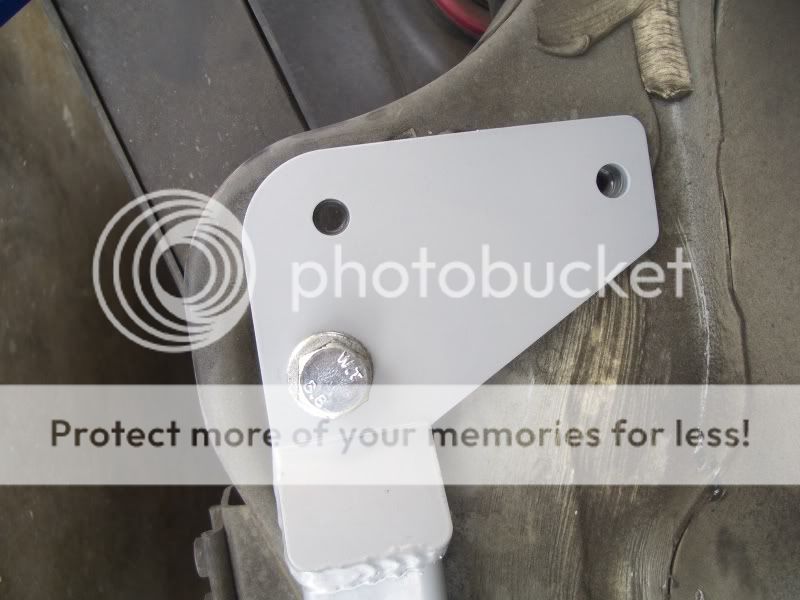
follow the same instruction for the other side. i didn’t tighten both 19mm bolts all the way yet cuz later you will have to center the hole for the brackets that supports the new sway bar.
Installing the Sway Bar
this came with the new sway bar.
apply the grease to the bore of the polyurethane bushings(in the hole). spread the grease with your pinky(in other words, the finger you use to pick your nose)
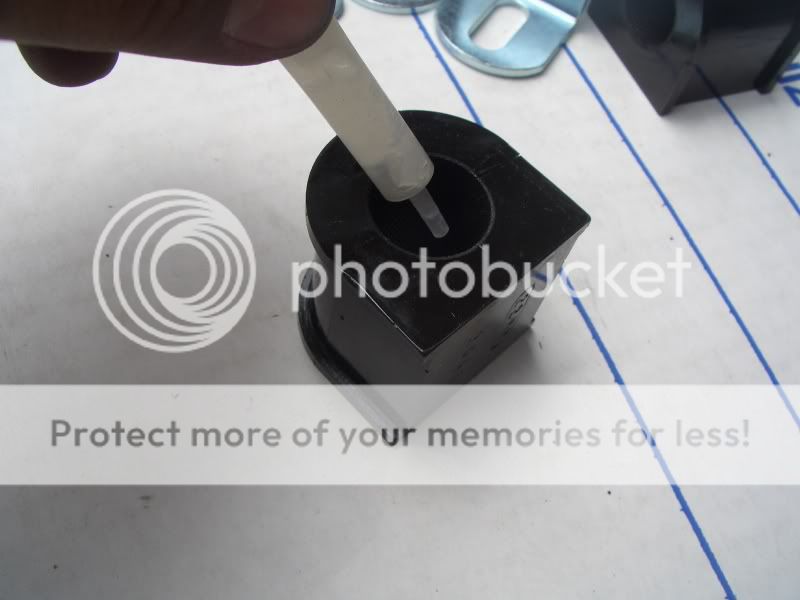
pics while applying the grease

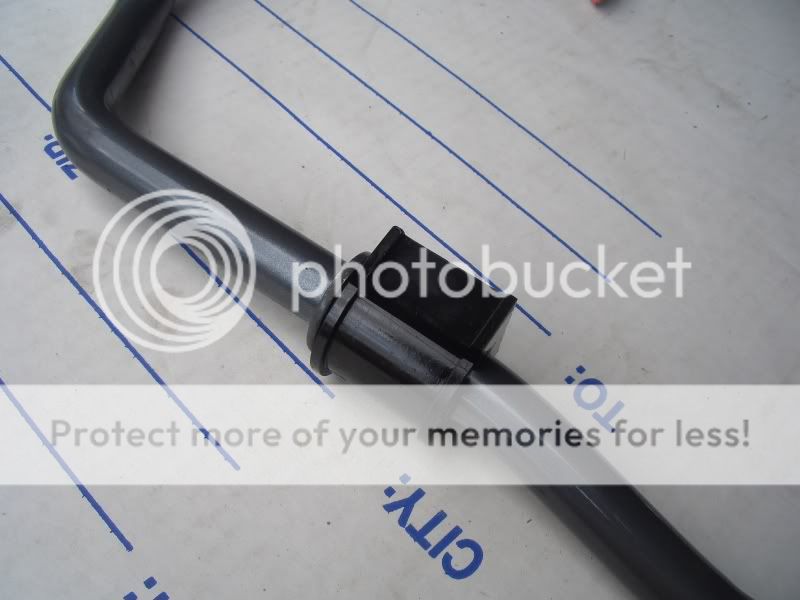
open the bushings and snap them over the new anti-sway bar.
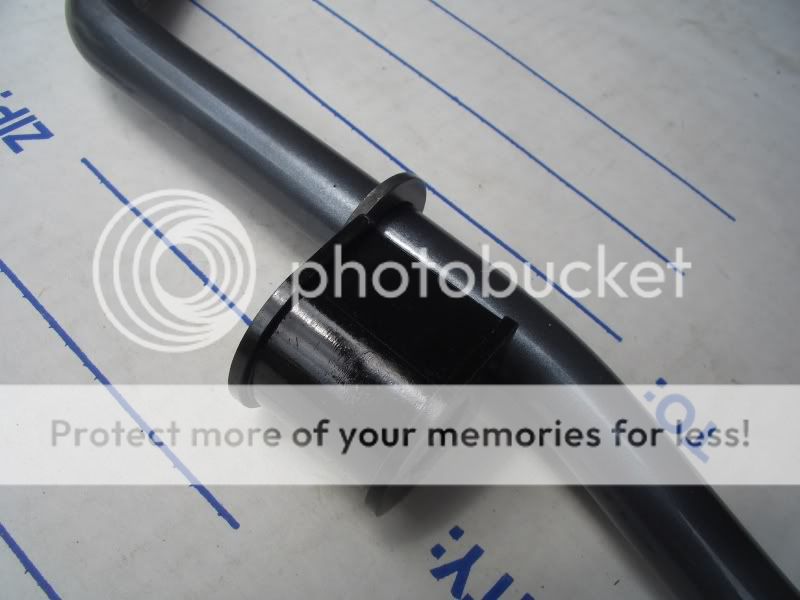
bushings installed.
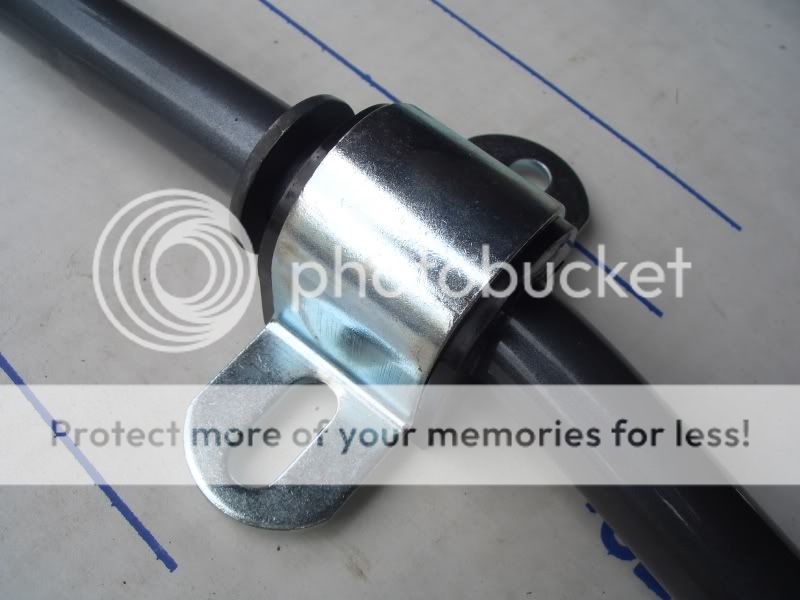
place the new brackets over the bushings.
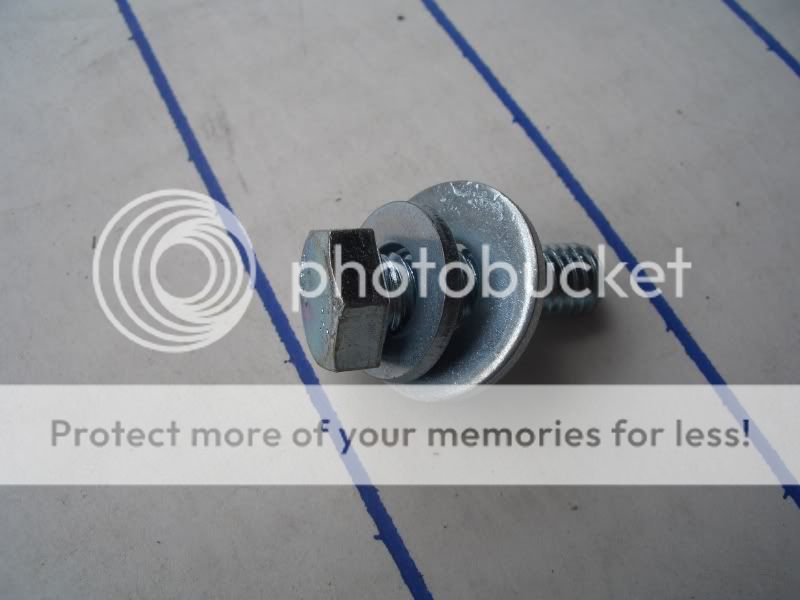
now, you will need 4 set ups like this. 4 14mm bolts, 4 small washers, and 4 big washers. it’s set up like this so the small washers won’t sink into the brackets.
then, fasten the bushings bracket to the rear brace to attach the new sway bar.
when finished bolting the new sway bar (i didn’t tighten all the way the 4 bolts, yet), attach the ends of the sway bar by using the stock 14mm or 12mm bolts. again, i used the bent long nose to hold the other end while tightening the bolt.
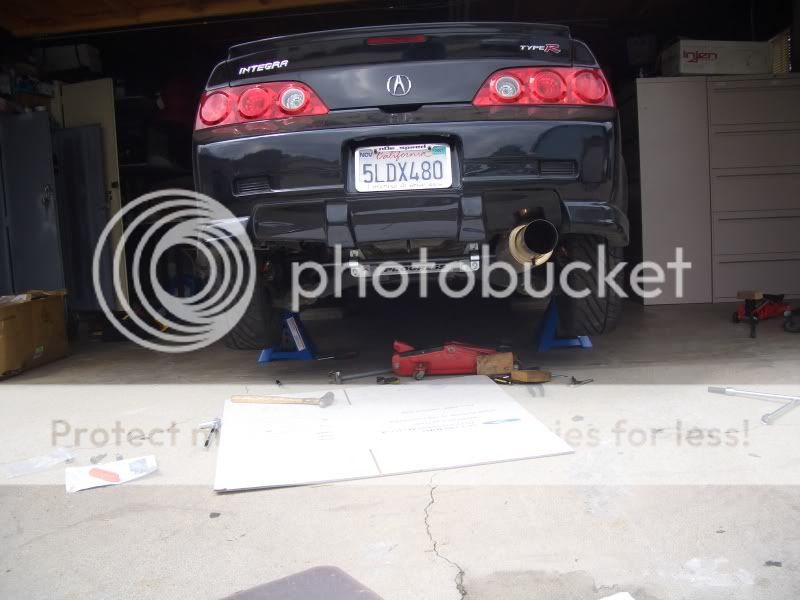
now, all you need to do it tighten everything, install the wheels back on and test it.
pics after installation.