
 Posted in
  Tags:
Tags: Source: AcuraZine
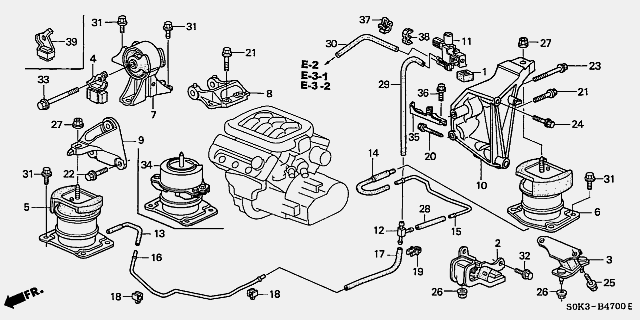
My front and side engine mounts were original, 10 years old with 105,000 miles on them and had failed. The side rubber was cracked right through, and the front had lost it’s hydraulic fluid. Besides knowing they were bad because the dealership put it in writing, the gas pedal would transmit a fluttering, as the engine bounced about under certain conditions of acceleration and de-acceleration. Rather than spend $675 at the stealership, I’d thought I’d have a whack at them myself. Not knowing a box wrench from a box hedge, the easier mount of the two sounded a reasonable effort. So I acquired the mounts, and a few more tools, including: 1/2″ breaker bar; extensions; 3/8″ universal; 14mm x 3/8″ universal. I refer to the following schematic by reference number throughout my narrative:
Compare new part with existing part [before removal].
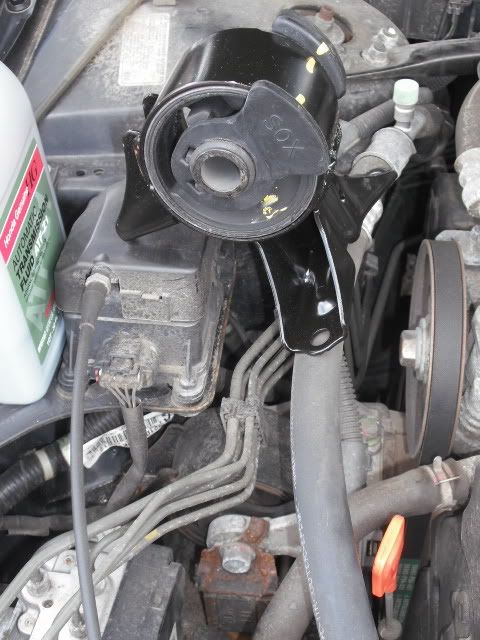
Image 1
Get a feel for how your tools will fit within the work area.
Loosen #33 FLANGE BOLT (12X110) before removing #8 ENGINE SIDE STOPPER BRACKET.
Although #33 bolt is shown with my brother’s 1/2″ ratchet on the socket, I swapped in the breaker bar.
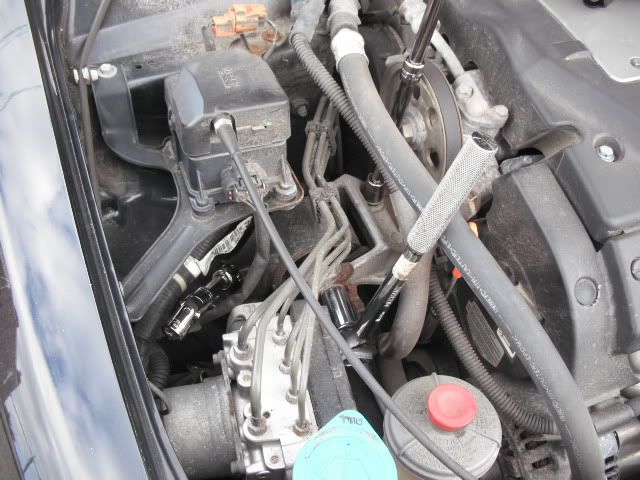
Image 2
Think ahead to the next move.
With #33 bolt loose or removed, #4 SIDE ENGINE MOUNT DYNAMIC DAMPER will
swing out of the way, allowing access to front #31 flange bolt (10 x 16).
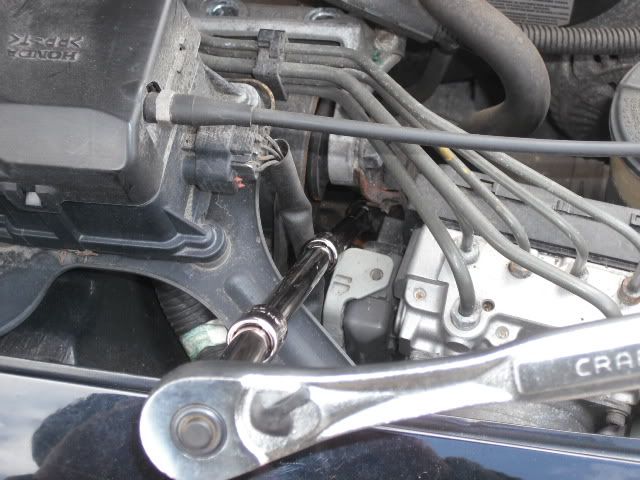
Image 3
Don’t forget to remove the brake line attached to the mount.

Image 4
Fully disconnected.
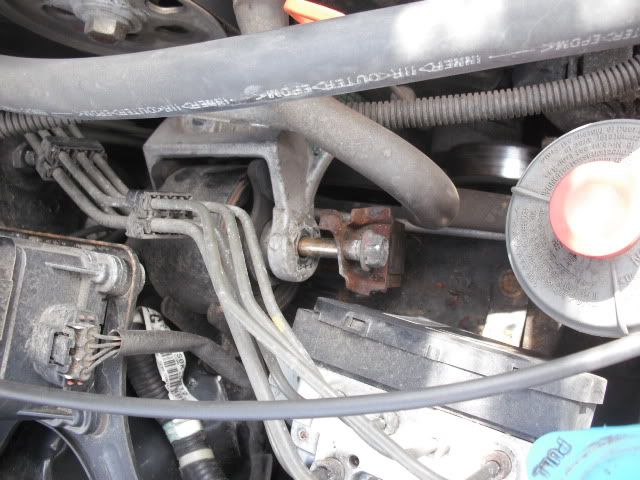
Image 5
The engine might not run properly with metal debris among the pulleys and belts.
Remove bolts, sockets, etc., that might have fallen within.
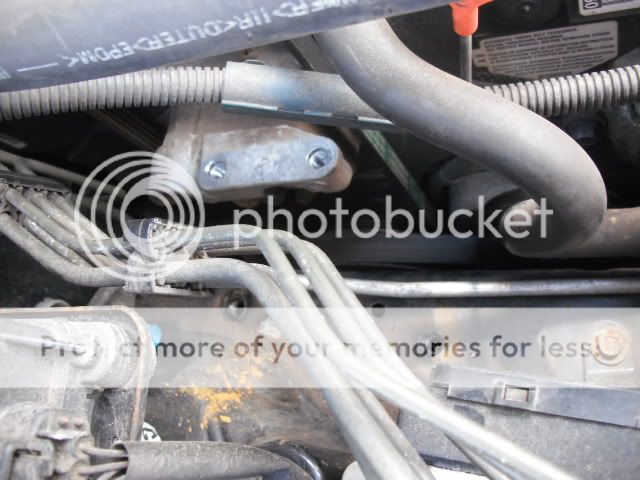
Image 6
One last look before installation.
I removed the rubber “ears” before plunging the mount back into it’s space, figuring they’d fall off.
The rear-facing ear was troublesome getting back on, and I’d probably leave them on, if doing it again.
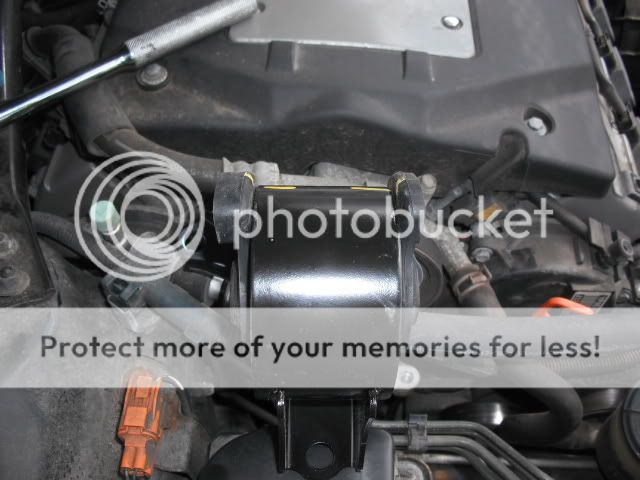
Image 7
She likes going in on her back.
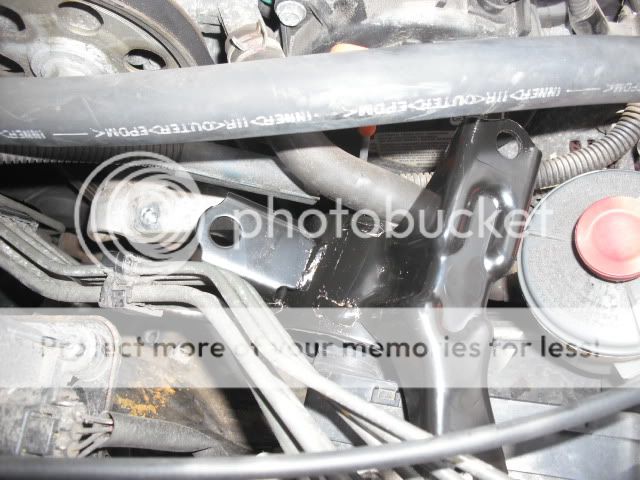
Image 8
Hey, did I forget to remove and reinstall the brake line clip?
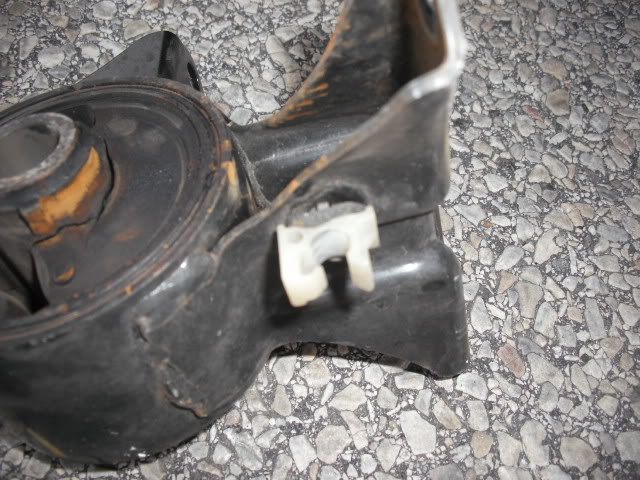
Image 9
All done! Wow, the engine seems to idle more smoothly and quietly!
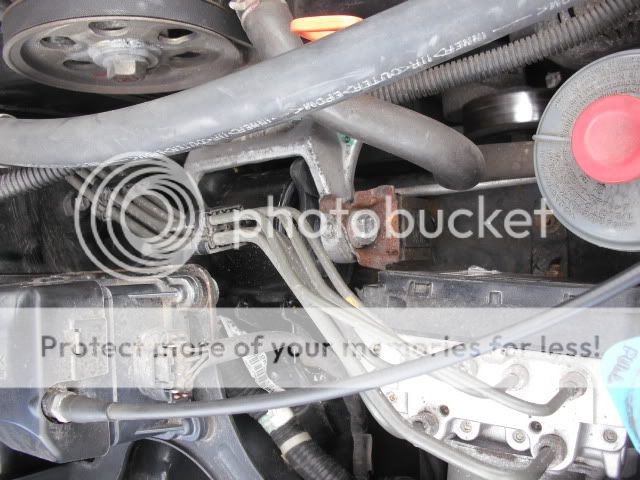
Image 10
These were the only tools I used.
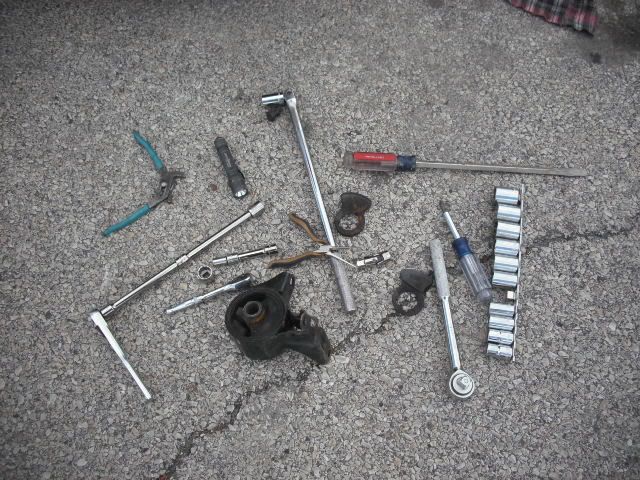
Image 11
Now, is the day long enough for the front mount . . . ?
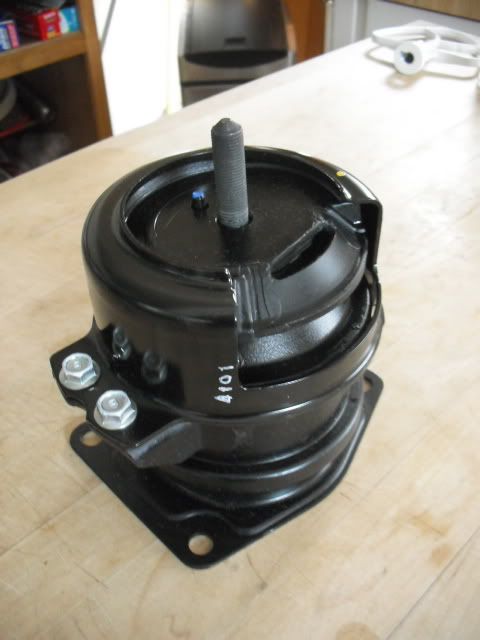
Image 12
If your previous wrenching, like me, was confined to tightening up your bicycle wheels,
you might want to replace the side mount before attempting the [pictured above] front mount.