
 Posted in
  Tags:
Tags: Source: AcuraWorld
first off i will list the general tools you will need. i have a large amount of professional tools along with air tools. but this job can be completed with most hand tools.
19 mm socket and a breaker bar to loosen the lug nuts.
adjustable torque wrench
3/8 drive ratchet wrench or equivalent
14mm socket
17mm socket
19mm wrench or adjustable wrench
piston caliper compressor or large c clamp pliers
impact driver with Phillips head( to remove rotor screws)
brake kleen or soap and water
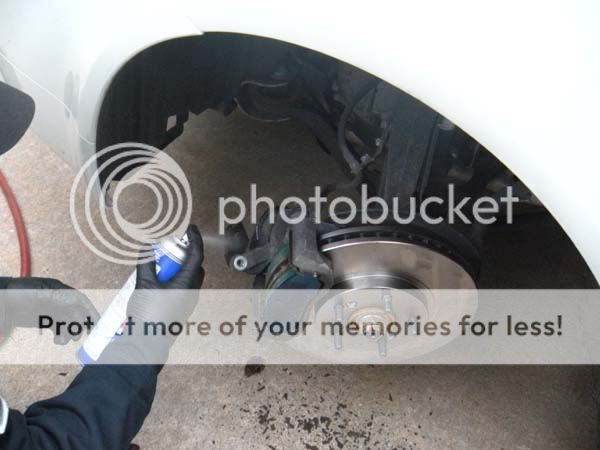
anti-squeal/vibrate brake spray. (not required but suggested to reduce vibrations and noises that may occur in the future).
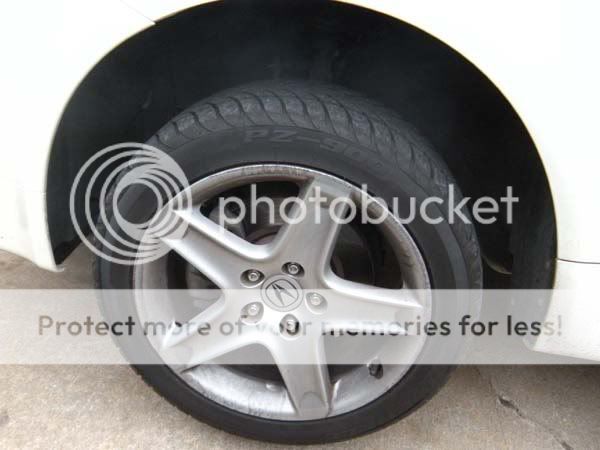
it is a good idea make sure your parking brake is fully engaged and chock the rear wheels. i usually leave the key in the acc position so the wheels can be turned for better accessibility.
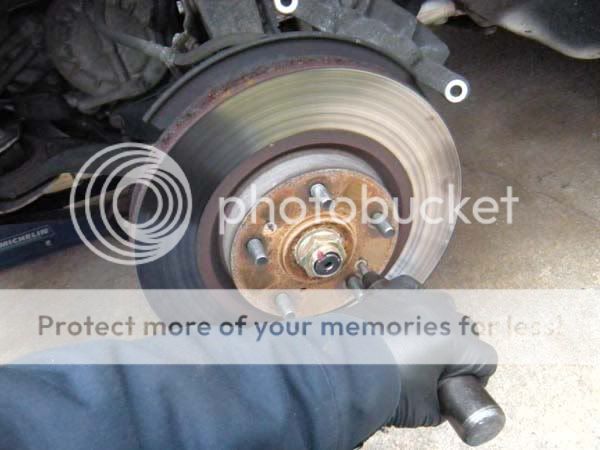
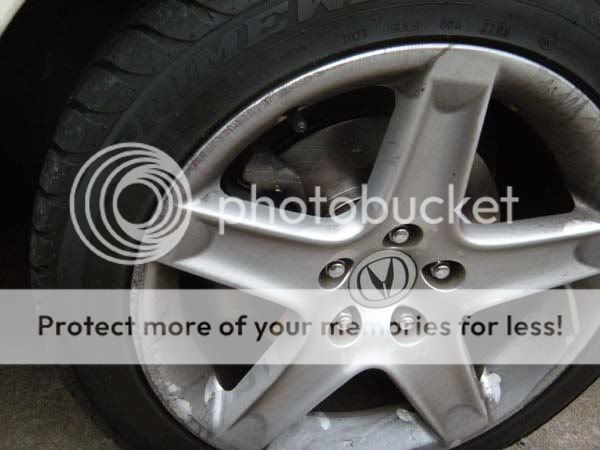
start by ‘cracking’ the 5 lug nuts loose. securely jack up the vehicle and remove the lugs and wheel assembly.
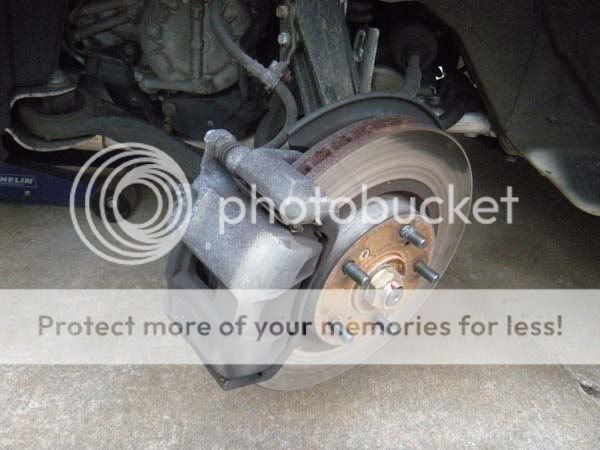
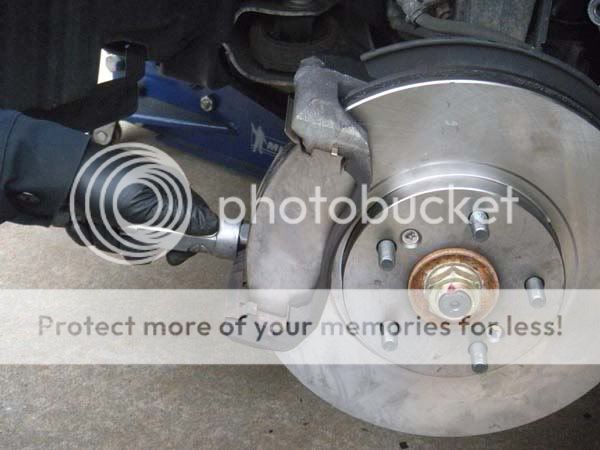
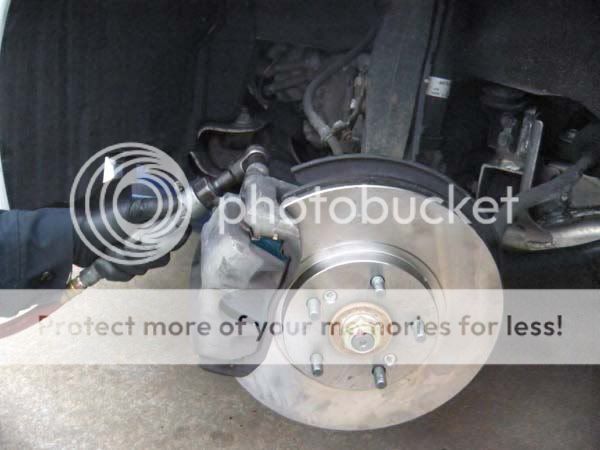
now that you have a clear view of the brakes, it’s time to remove the two 14mm caliper bolts. this is where you will also need the 19 wrench or asjustable. the sliders have a 19 head that will need to be held tight to break the caliper mount bolts loose.
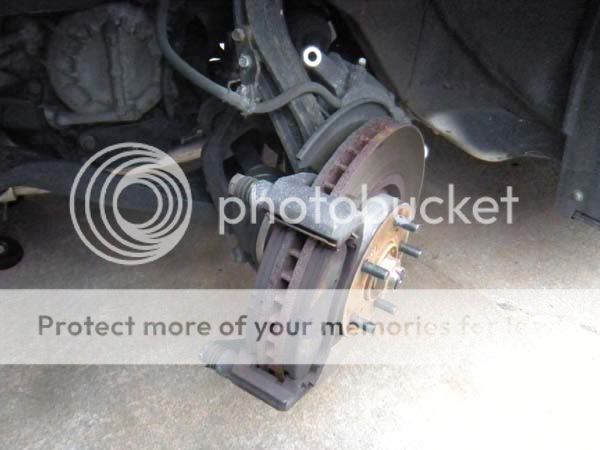
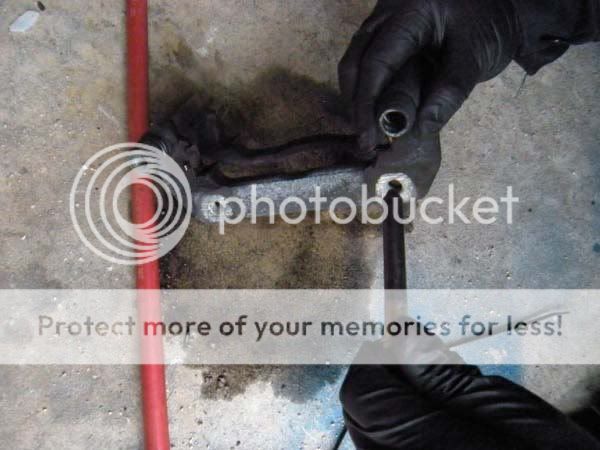
position the caliper out of the way to access the brake pads and mounting bracket.
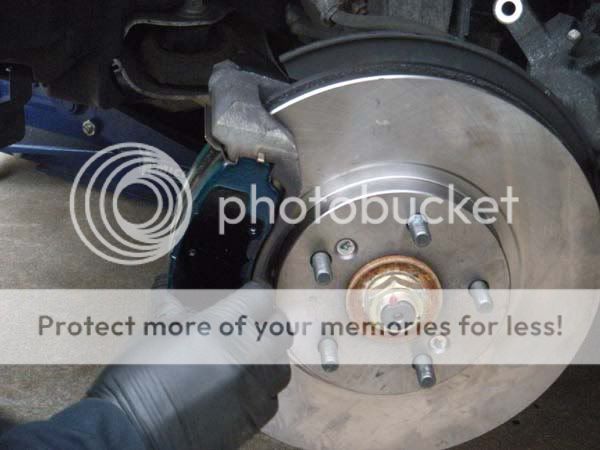
there are two 17mm bolts located behind the rotor that bolt the bracket to the hub. remove these two bolts and remove the caliper mount.
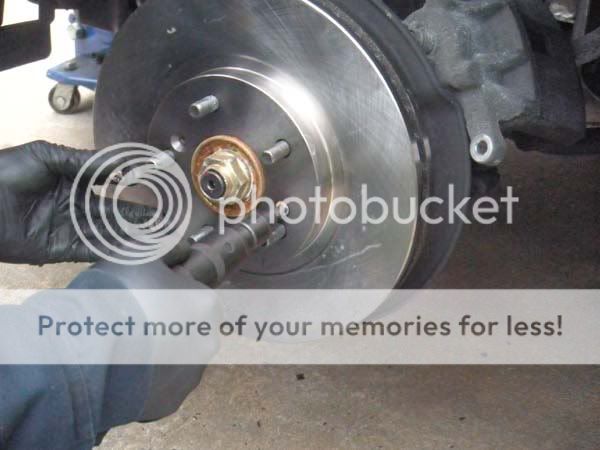
the next step of removing that caliper bolts can be tricky if you don’t have an impact driver. the driver will remove impact tight nuts bolts etc when stricken with a hammer. a suitable alternative is to use a flat blade chisel and small hammer to remove the screws. take careful to not strike the lugs nuts as they can be damaged from impacts. once the screws have been removed the rotor will usuall come loose when stricken on the outside face of the rotor itself.
the next few steps i am simply going the extra mile to clean the pad hardware and sliders.
i used a toothbrush and some brake-kleen to scrub the pads clips.
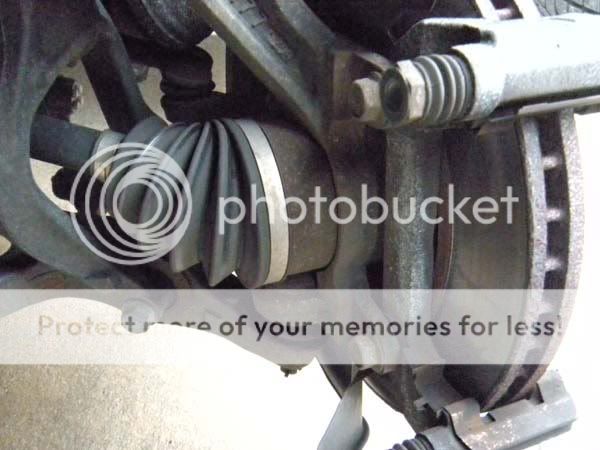
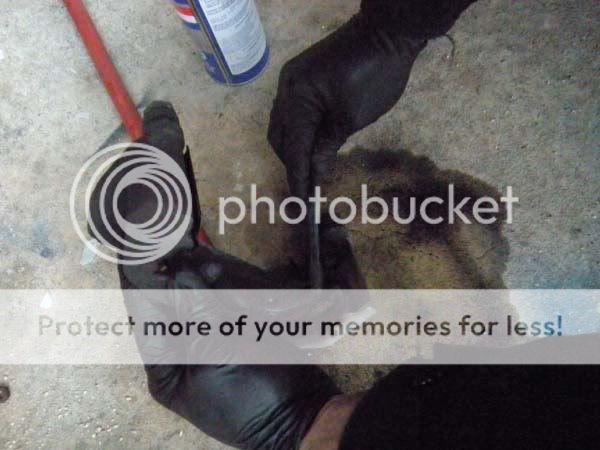
now i am removing the caliper sliders; wiping them off with a rag. then applying a small amount of silicon brake lubricant. this will help prevent the sliders from locking up in the future and causing premature brake wear/fade.
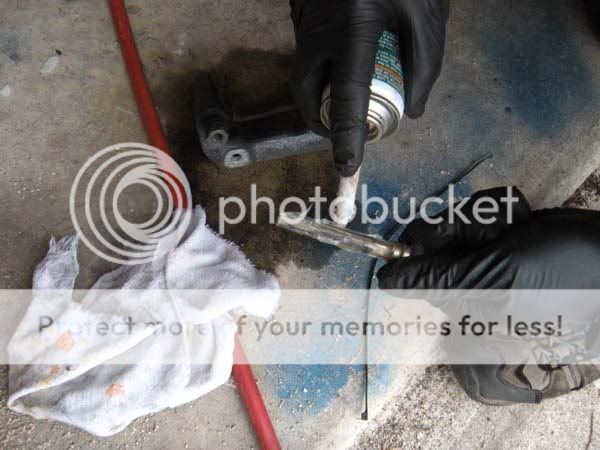
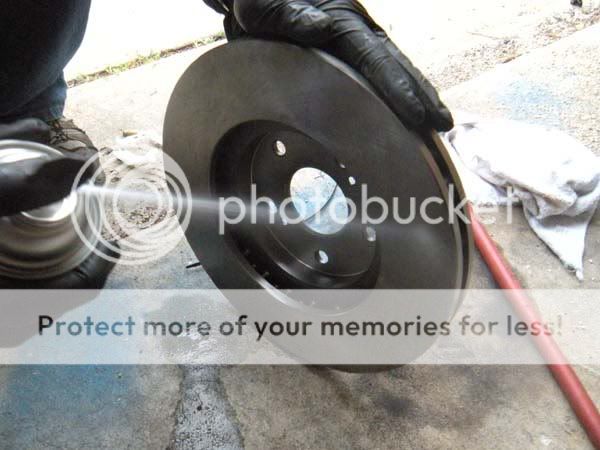
now i am cleaning the new rotors off with some brake-kleen. most rotors are glazed with a coating to prevent rusting/blemishes during shipping and storage. this coating needs to be removed before installation as it will most definitely cause brake problems. dealer rotors usually have a gray primer-ish coating that will need to be cleaned with a brush and soapy water.
now install the new rotor on the hub. in the next picture i am re-installing the rotor screws. these screws do not need to be re-used. they are installed on the assembly line so the rotors do not fall off;and do not have any braking function. i usually put one of them on just to hold the rotor straight during installation. if you reuse one make sure it is very tight.
now reinstall the caliper bracket and 17mm bolts. these bolts need to be very very tight. i suggest using a torque wrench or breaker bar to tighten them. i am unsure at the torque specs. i used my impact gun to ‘tap tappp’ the bolts tight after hand installation. (impact gun not pictured, using my air wrench to snug the bolt into place)
now install the new brake pads in the original manner as they were coming off. this means that the brake warning clip must be on the inside top. failure to do so may cause problems. the caliper may not even re-install.
the caliper piston needs to be pushed in before re-installation. if you are using a c clamp or other tool, be sure to have one of the old pads inserted btw so no damage/chipping will occur to the piston.

next i am cleaning the dirt and dust off with some brake-kleen. this is to help the brake quiet i spray on the pads to adhere to the caliper.
now re-install the caliper and 14mm bolts. make sure the bolts are tight. sometimes the sliders may spin when tightening the bolts so use your 19 wrench or adjustable to hold them.
now reinstall the wheel and lugnuts. lower the vehicle untill the tires ‘kiss’ the ground and tighten the lugnuts to 80-90 ft lbs.
repeat these steps for the other side and you are done. DO NOT forget to pump the brake pedal up (with the enigne off) before driving or you will have NO BRAKE PEDAL for the first few pumps.