
 Posted in
  Tags:
Tags: Steering Gearbox Replacement for a Dodge Ram
Works For:
1981, 1982, 1983, 1984, 1985, 1986, 1987, 1988, 1989, 1990, 1991, 1992, 1993, 1994, 1995, 1996, 1997, 1998, 1999, 2000, 2001, 2002, 2003, 2004, 2005, 2006, 2007, 2008, 2009, 2010, 2011, 2012 Dodge Ram Models
Source: DodgeOwnerForums
This was done on an ’03 Ram 2500, 5.9 Cummins.
Tools needed are various sockets in 1/4, 3/8 & 1/2” drive, a cheater bar, channel locks, 2 crescent wrenches, pry bar, a vise and 1 or 2 quarts of ATF+4, these trucks don’t use power steering fluid. The only special tool needed is a pitman arm puller.
Start by removing the driver’s side front fender liner. There are 3 bolts that hold the gear box to the frame and removing the fender liner makes accessing these bolts easier.
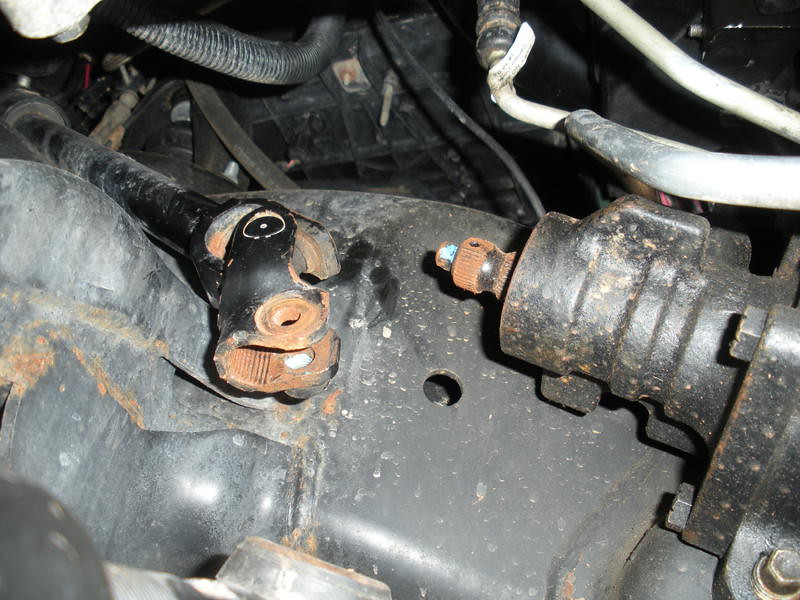
Next is to remove the bolt that holds the steering shaft coming off of the steering wheel onto the gear box. You can see in the pic where the bolt is backed out.

Next, remove the steering shaft from the gear box. You may need to use your pry bar to disconnect them. There is a lot of play in the steering shaft, just slide it back out of the way.
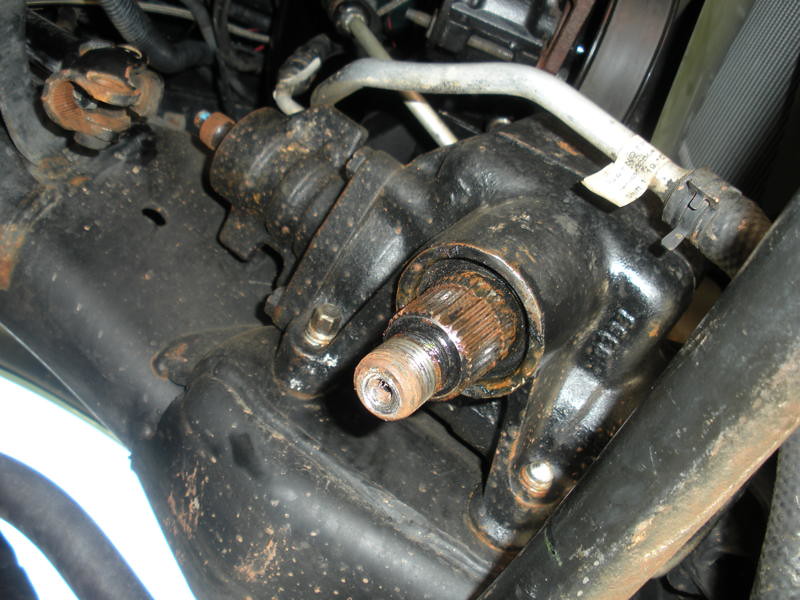
Next you remove the pitman arm. It’s the arm coming off the bottom of the gear box going to the drag link.
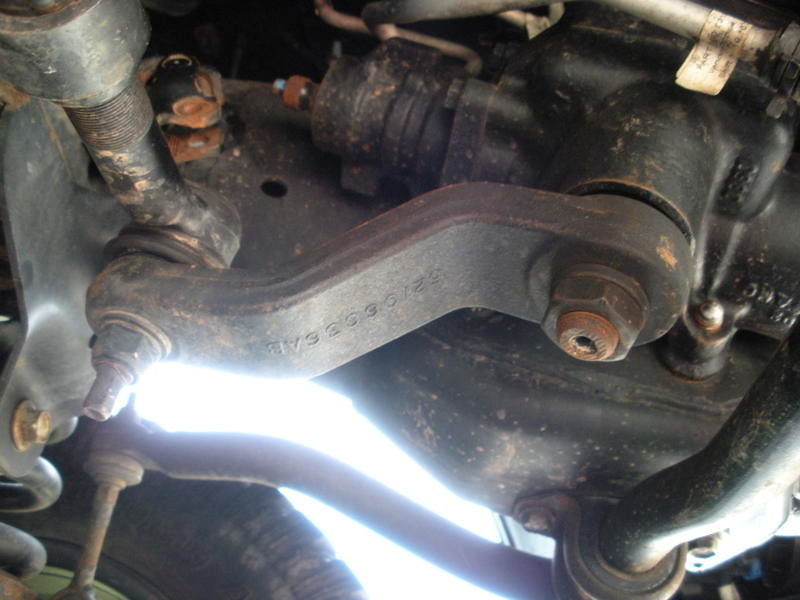
Before you remove it, make a mark on the pitman arm itself and another mark on the sway bar just to make sure you put the arm back on the new box in the same position.
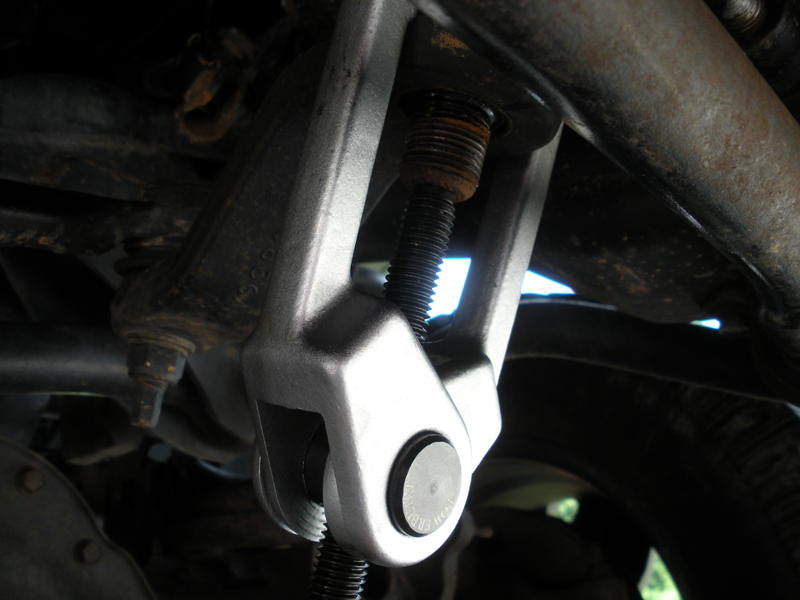
This is where your pitman arm puller and cheater bar come in. The pitman arm nut is on with a lot of torque. Setup your puller and use your 1/2” drive ratchet and whatever socket needed for your puller. The torque is enough that you’re not going to be able to lay under the truck to break it loose, so sit in front of the truck. I recommend keeping both hands on the cheater bar, not near or under the gear box because when the pitman arm finally pops free, the gear puller can come off with a lot of force.
Here the pitman arm is removed.
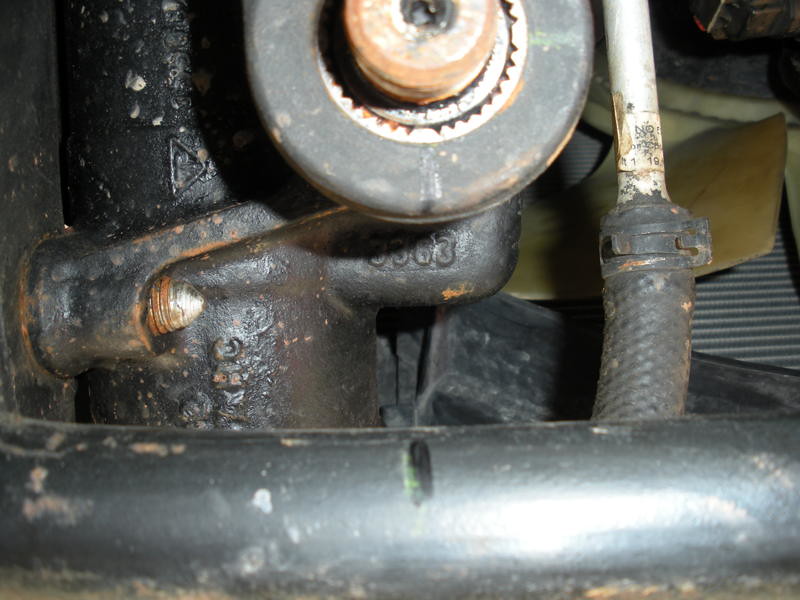
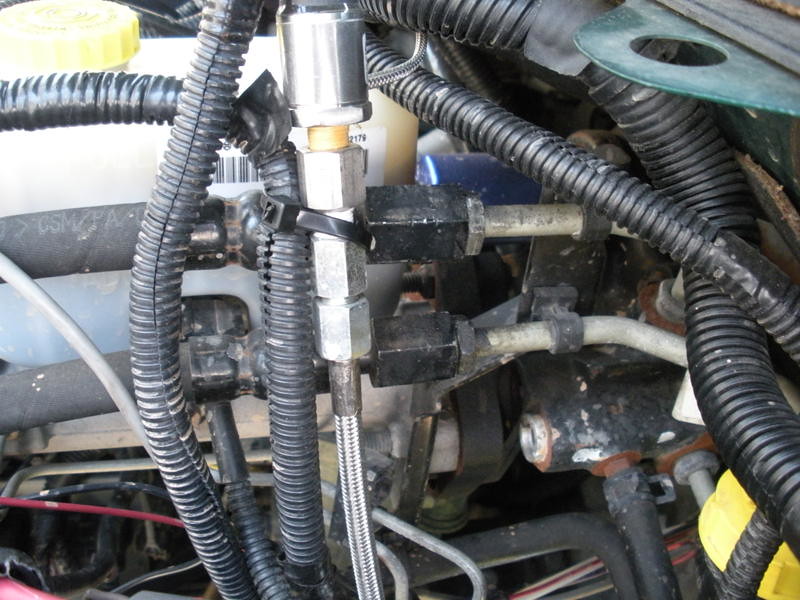
There are 2 lines going to the top of the gear box. One is coming from the power steering cooler and the other is coming from up near the brake booster. It’s hard to get a wrench to the top of the gear box to remove them, so I just disconnected them and swapped them to the new box on the work bench. Of the two cooler lines you only have to disconnect the one that goes to the gear box. When you disconnect this line you will get a good bit of fluid out, make sure you have something to catch it.
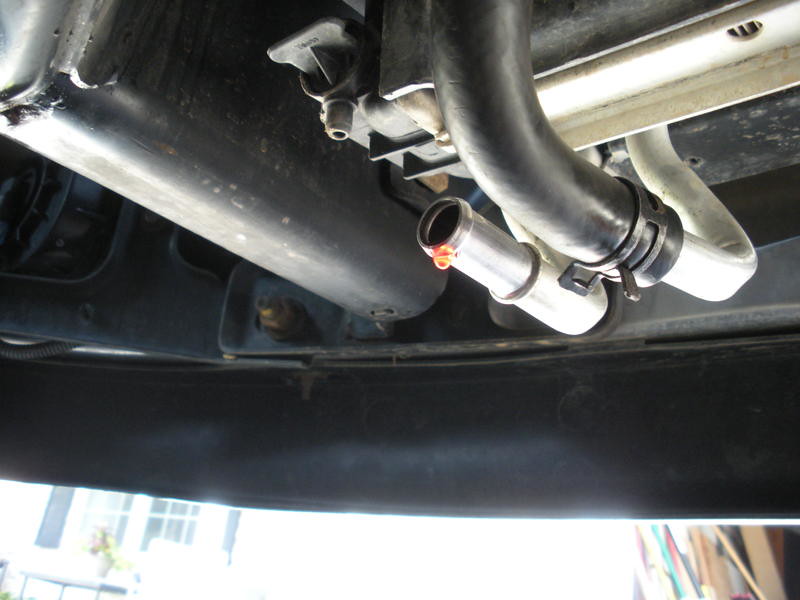
Here you can see the 2 identical lines. The bottom one is the one that goes to the gear box. Use your 2 crescent wrenches to turn the fittings opposite directions. Once they’re loose you can spin them off by hand. You shouldn’t see any fluid from here, all you need is a rag to catch a few drips if any.
Now you need to remove the 3 bolts holding the gear box to the frame. It’s not necessary but using a cheater bar here makes it a lot easier, the bolts aren’t very tight but accessing them can be a pain. It’s also helpful to have 1 person remove the bolts while another keeps a hand on the gear box. Be ready, the gear box has some weight to it.

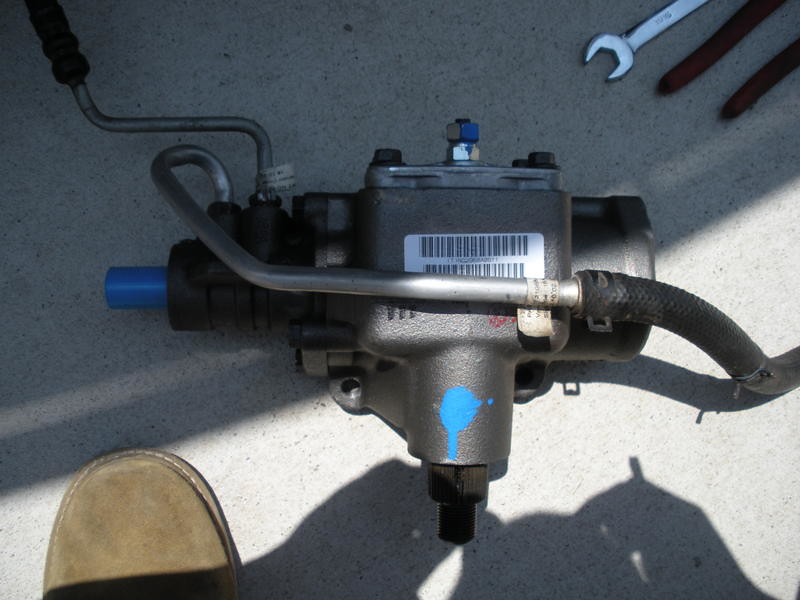
After you get those bolts out this is what you should have laying on your workbench.
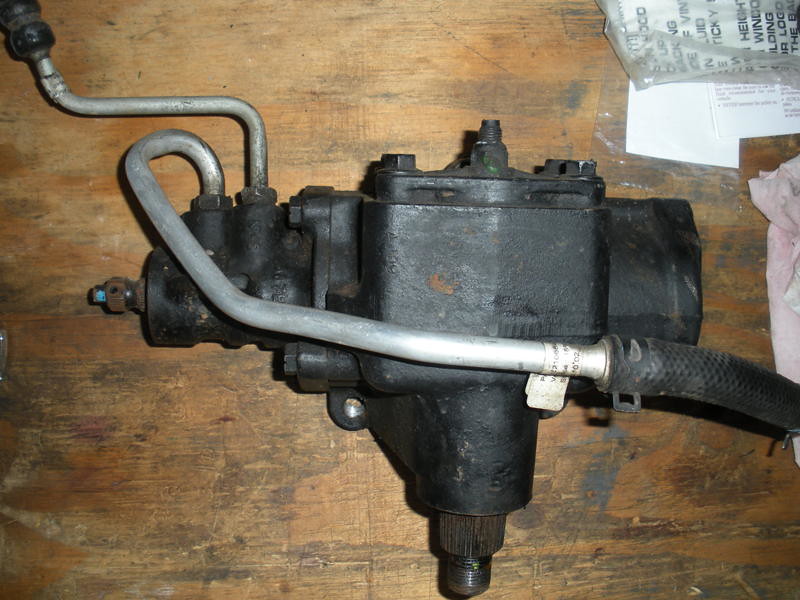
Before removing the lines from the box note their orientation so you can put them on the new box in the same position. Like I said earlier, there isn’t much room to get a wrench on those lines once the gear box is on the truck so if they’re in the wrong position you may have to pull the box again. Your new gear box should come with new washers that go on the fittings where the lines go into the box. Put those on and clean off the fittings before installing them.
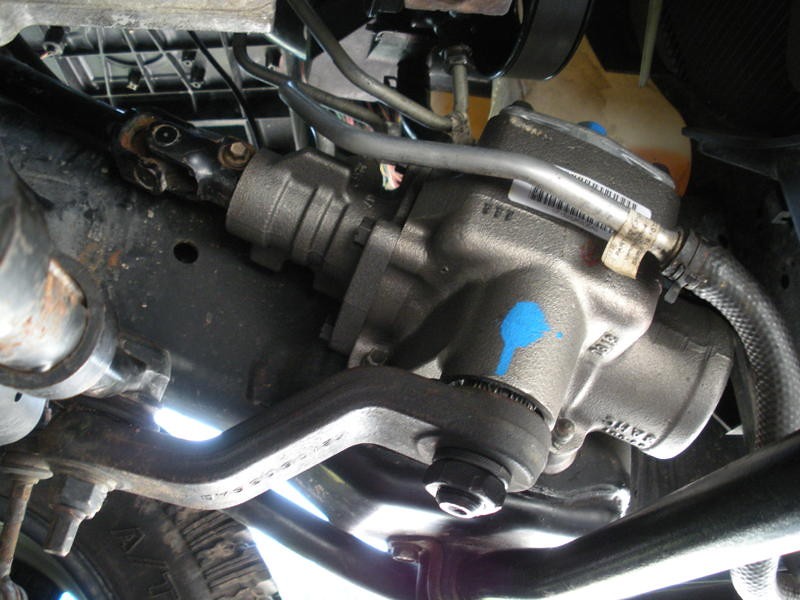
Once the lines are swapped reinstall everything. You will need a second person again to thread the frame bolts while you hold the box in place. They are torqued to 145 ft. lbs. Re-connect the hydraulic lines and the pitman arm. The new gear box should come with a new lock washer and nut for the pitman arm, use them. The pitman arm nut torque is something like 225 ft. lbs. So you’re gonna need that cheater bar to tighten it also. The teeth that the steering shaft slide onto has a flat spot on each side so the shaft can slide on one way or 180* the other way. Make sure the steering wheel didn’t move and is right side up then install the shaft and tighten the bolt. The torque value of the bolt is 36 ft. lbs. When you’re done yours should look like this.
Jack the front end up and support with jack stands. Check the fluid level and add if necessary. Start the truck and work the steering wheel lock to lock several times. Again, check the fluid level and add as needed. Repeat this process a few more times until the fluid level stays the same.
If your steering wheel position is off center you can loosen the clamps on the drag link and turn the adjustment sleeve to correct the steering wheel position then re-tighten the clamps.
Awesome. Thanks alot it shows it all.
hi I not able to get the pitman arm off I have busted 2 pullers I have tried heating the bar and hitting the puller still nothing
can you email me