
 Posted in
  Tags:
Tags: Use this How-To in order to Replace the CV Axle and Seal on a 2004-2009 (First Generation) Mazda Mazda3
Works For: 2004, 2005, 2006, 2007, 2008, 2009 Mazda Mazda3 Models
Source: Mazda3Forums
Figured this is something that most of us will need to do at least once in the ownership of our cars, so I thought I’d throw up a how-to while doing it.
My drivers side CV axle seal shot craps the other day thus causing my transmission to leak like niagra falls. And since replacing the axle seal requires the removal of the axle, this how-to can cover replacing both. Resulting in a puddle like this after leaving it parked for one day.
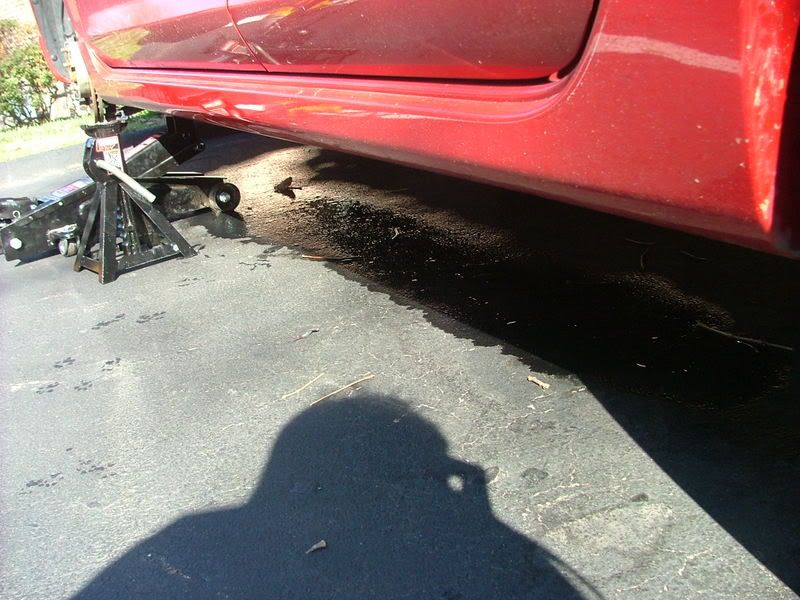
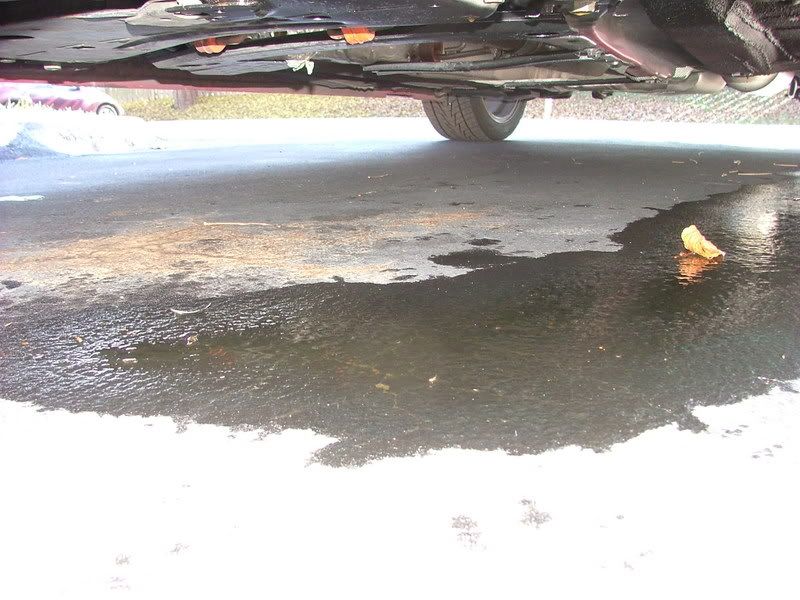
Sadly I had to drive it to work for 2 days with it leaking, but it wasn’t a really bad leak, but it got worse on the way home the last night I drove it, so I parked it and borrowed a F-150 from work. After letting it sit for nearly 2 days, I was left with a huge puddle. Thankfully I only lost about a half quart of gear oil from when I noticed the leak and untill I started to fix it. Once the seal was removed though I pretty much lost all the gear oil in it, and my 3 month old redline with about 7k miles on it went to waste. Thankfully I had a few extra bottles laying around.
You only need a few basic tools to do this.
-Jack
-Jack stands
-10mm socket
-13mm socket ***Depending on if your car has an automatic transmission, you may need a 32mm, at least I think it is, spindle nut socket instead of the 13mm socket***
-14mm socket
-17mm socket
-19mm socket *I might have to verify this one, it may be larger*
-23mm socket or a wrench ***Manual transmission only***
-Flat head screw driver
-Needle nose pliars
-Pry bar
-Big hammer
-Breaker bar
-Impact wrench *helpful but not needed*
-Ratchet
-PB blaster *can be helpfull on any rusty nuts*
-Seal puller *provided you are replacing the seal, as is my case*
-Torque wrench *once again, not needed, but if your anal about torque specs you can use one. I’m a mechanic, and the only thing I really use a torque wrench for is fragile stuff or rebuilding an engine. For everything else, I use the german method, “goodentight” or the half vien method, which is when you see half a vein popping out of your arm, that will let you know when things are tight*
-Music *I can’t work on a car without tunes, I perfer country music, your mileage may vary*
This covers the drivers side axle for a car with a manual transmission, the passenger side is a similar concept but a little bit different as there is an intermediate shaft that is bolted to the backside of the engine and the cv axle goes into that. In theory, you shouldn’t need to replace the seal on the passenger side since its protected a lot better then the one on the drivers side, but you never know. A piece of road drebris came up and smacked the crap out of the copper shield thats on the cv axle and sent it into the seal tearing it to kingdom come. Personally, I think the passenger side is a little bit easier to work with for the axle, just because of the way its laid out.
First thing first is to loosen the lugnuts and then jack the car up and secure it on jackstands and remove the wheel. I didnt take a picture of that, because if you can’t figure out how to do that, you shouldnt be doing this in the first place. You’ll want to remove the plastic underbody shield now as well, there are 7 10mm bolts that hold it in place, and 2 plastic clips. You may or may not have this plastic clips anymore, they break quite easily and most people get pissed off at them and throw them away. Both of mine finally broke today when I was removing them, so they got tossed. The side part of the wheel well that the underbody bolts to needs to removed as well, there are 2 10mm bolts that hold it in place, along with one plastic friction clip with a plastic screw in the middle of it.
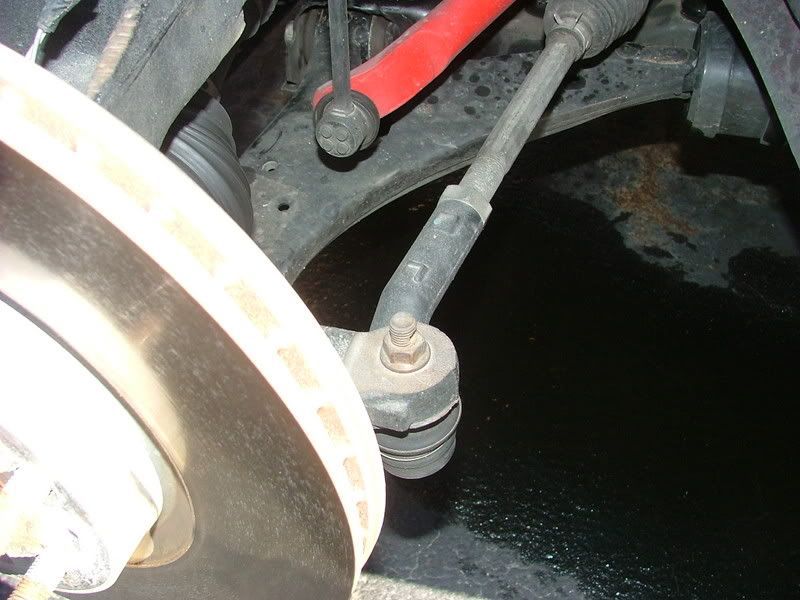
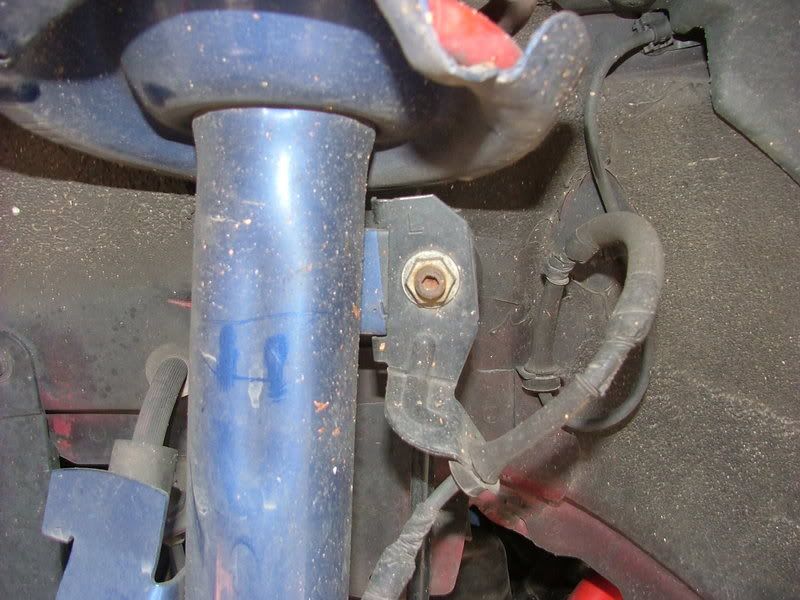
Next thing you’ll need to do is remove the cotter key from the tie rod end on the spindle. Thats this guy here.
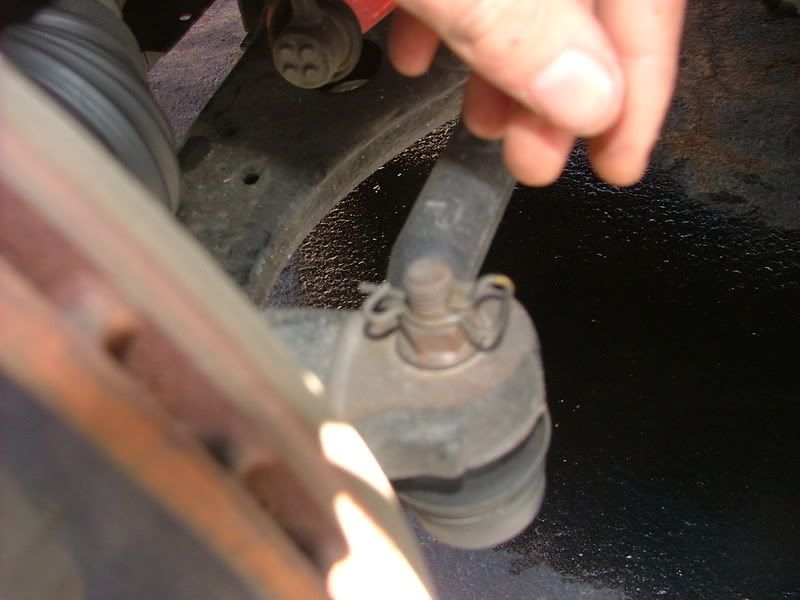
Once removed, you’ll have access to the 14mm nut on the tie rod end. You may need to spray this with some PB blaster to get it off. Sometimes the shaft on the tie rod end will spin with the nut making it a pain in the butt to remove. I just zipped it off with my impact though.
Now youll need to remove the sway bar endlink from the strut. Once again, its a 14mm nut. Same thing applies here with the PB blaster.
You’ll need to push up on the control arm a little bit in order to get the sway bar endlink to slide out of the strut. It gets angled funky once you remove the nut making it difficult to remove, once the control arm is pushed up, it falls out of the strut reallly easy.
You’ll notice you can now turn the suspension independently from the other side, cool huh?
Now we need to get the axle out of the wheel hub so we can pop it out of the transmission. There are two ways of doing this, the first way is to pop the ball joint on the lower control arm out of the spindle and pull the wheel hub and entire suspension away from the car so the axle pops out of the hub. Ideally, this is the easiest way of doing it, since it only requires the removal of 1 bolt on the spindle to free the ball joint from it. However, sometimes the ball joint doesnt want to come out of the spindle even if you jump up and down on the control arm once you remove the bolt.
Such was the case for me today, so I unbolted the control arm from the subframe and still left the control arm attached to the spindle. This will give you enough play room to get the axle out of the hub and eventually out of the transmission. Unfourtantly, I really didnt get any pics of this process here because I didnt exactly feel like laying in a pudle of gear oil, nor could I get my camera situated in a good position to take a picture of 2 of the bolts on the rear of the control arm. There are 3 bolts total that you need to remove in order to do this. 2 on the rear of the control arm on the bottom, and one on the front facing the front of the car.
The two bolts on the rear are 17mm, and I believe the one on the front is 19mm. I’m not too sure of this though, it may be larger, but no bigger then 22mm. I’m fairly confident its a 19mm though.
Heres a picture of the position of the front bolt on the control arm once the control arm was already removed.

On the control arm, you can see the two spots where the 17mm bolts go thru on the back of it.
*NOTE* This is where this How-To will vary depending on the type of transmission you have. *NOTE*
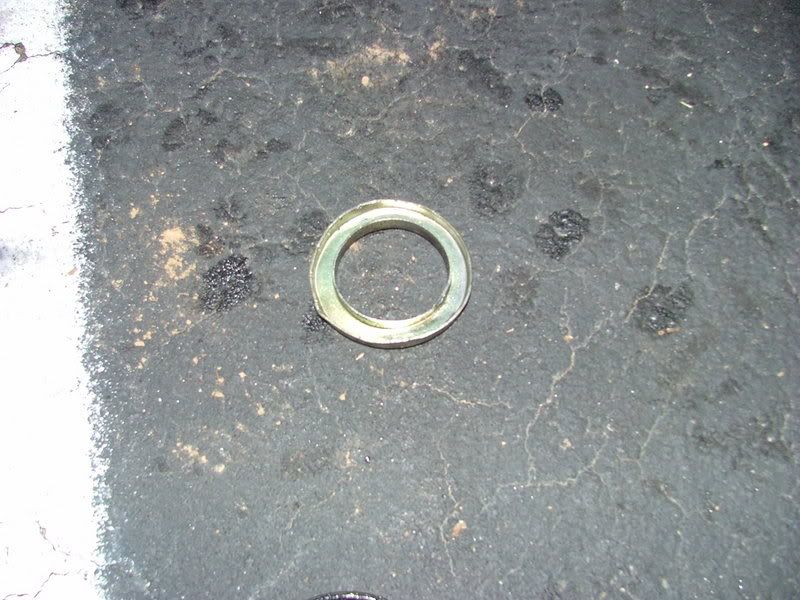
On manual transmission cars, the CV axle is held into the hub with a washer and a 13mm bolt. On automatic transmission cars, instead of a bolt that goes into CV axle, there is a spindle nut that goes on it. Don’t ask me why theres a difference, I just know there is. On a side note, I’m not entirely sure if the type of transmission is the reason of different retention methods of the axle to the hub, it may be differences in model years, but I’m 98% certain its due to difference in transmissions.
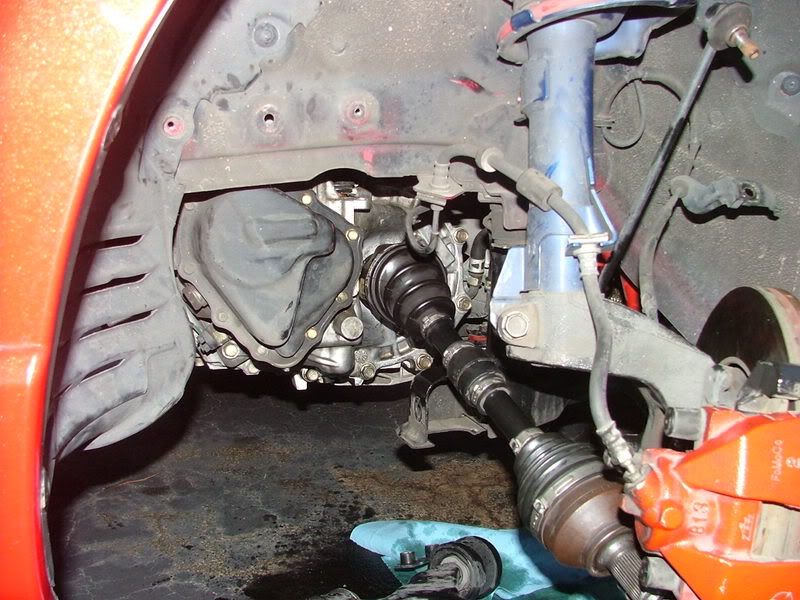
Anyways, once whatever thing is holding the axle in place to the hub is removed, you should be able to slide the axle on out of the hub and only have it in the transmission. It should look something like this.
Now for the fun part, getting the axle out of the transmission. I mean that kind of sarcastically, because this requires laying on your back underneath the car and putting quite a bit of muscle behind a pry bar to pop the axle out of the transmission. You are going to get dirty doing this, because once that axles out transmission fluid or gear oil, depending on what you drive, is gonna be gushing out where the axle was in the transmission. Provided you dont drain the transmission first. I didnt do that during this How-To, considering the size of the puddle underneath my car, I thought for sure my transmission was nearly bone dry. I was dead wrong. I had apparantly only lost near a half quart of gear oil, so I still had most of the oil in the transmission. So play it smart, drain the fluid first. I regret not doing that now, lesson learned. On manual transmissions you’ll use the 23mm wrench to remove the drain plug, on automatics, you’ll need to drop the pain, as there is no drain plug on them. I’m not sure what size bolts they are off the top of my head as I don’t own a slush box. ![]() I’ll check into it though when I work next. I’d assume they are probably 10mm though.
I’ll check into it though when I work next. I’d assume they are probably 10mm though.
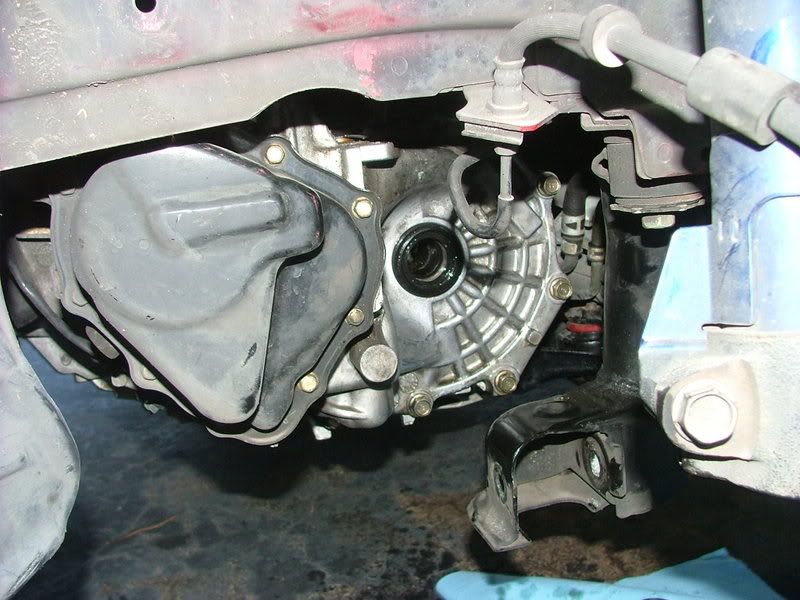
Where were we? Oh thats right, getting the axle out of the transmission, this part sucks the most due to the snap ring on the end of the axle that locks it into the transmission. Once you are situated underneath the car, take the pry bar and pry against the axle and the transmission. It’s going to take some force to get it out of the transmission, but if my scrawny butt can do it, you can do it too. Once you pop it out, pull the axle out. Voila! Hard part done, you should be left with something that looks like this.
Nows a good time to take a break, you’ve earned it! Have a smoke or grab a beer. 

Ok, breaks over, lets get back to work.
In my case, I needed to replace the seal, so grab the seal puller and yank it on out.
Here’s why I had a fatty puddle under my car.
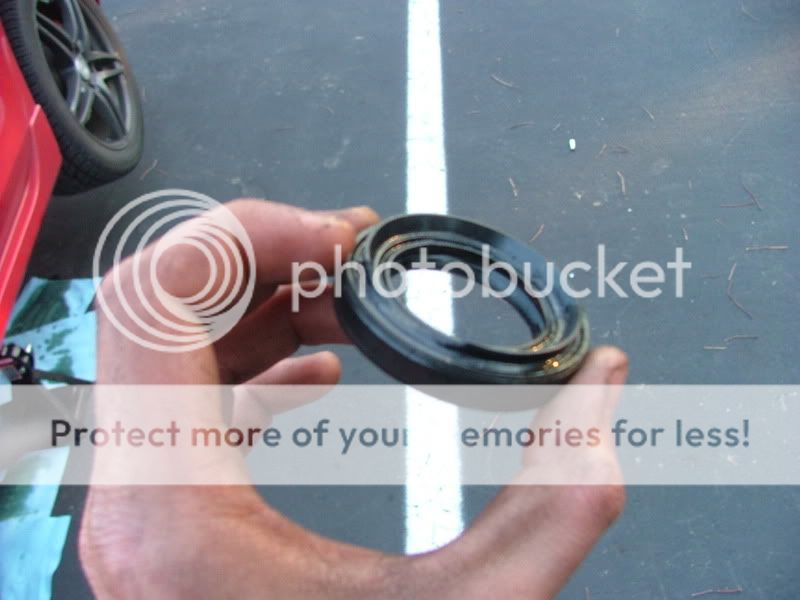
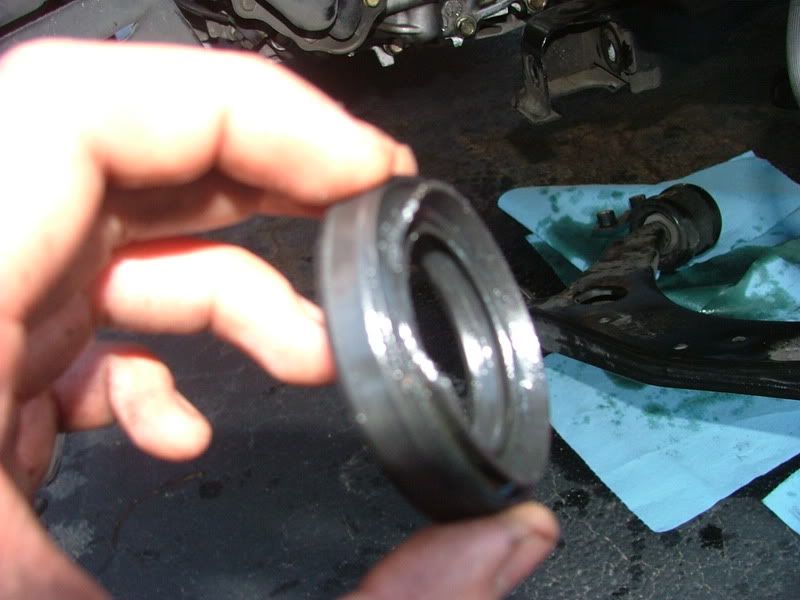
See that chunk missing? Thats not good. ![]()
And heres why, the copper shield that goes on the axle to protect the seal got knocked loose and chewed up the seal.
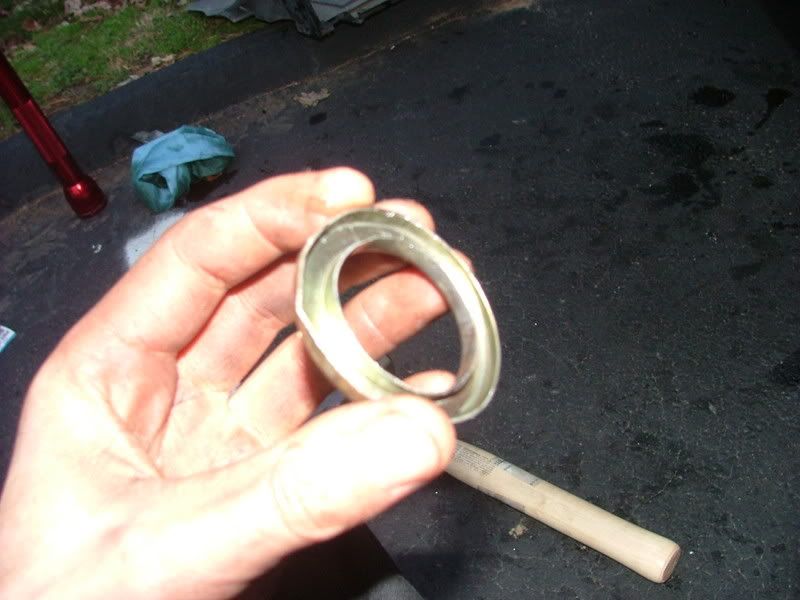
The shield thing is only available with a new axle from the dealership, you can’t purchase it seperately, its not a critical thing to have, so I just tossed it in the dumpster. Putting a new seal in is quite simple, just push it in place.
Now its time to get the axle back in the transmission, line up the splines and pound it in with the hammer. Your going to need a big hammer for this, a rubber mallet won’t work either, it needs to be metal. Don’t be afraid to give it a good whack. The axles are pretty tough, they can handle a few hits of a hammer. You’ll feel it go into the transmission and lock into place.
Congrats! Now its time to put everything back together in reverse order of dissasembly. This is easy. Once everythings back together, double check to make sure everythings tight, once again, I perfer the german method of “goodentight”. Fill the transmission back up with fluid, put the wheel back on, lower the car, fire up the car and go for a drive. Check for any abnormal sounds or any leakage of fluids from the transmission. If there aren’t any, CONGRATS! You’ve just replaced your cv axle, or your seal, or perhaps both if need be.
I really appreciate it man, I’m sure I’ll have to do it sooner or later. It’s nice of you to take time to post this. It will help a lot of people, specially Mazda 3 owners since we do not have a manual like Chilton’s or whatever. Do not the the Alldatadiy, not only is crap but you have to pay every year. Thanks again.
Nice write up, funny too, thanks, I was not sure how to actually remove the half shaft, but you confirmed what I thought, I just need to ‘pry’ harder….
Ron