
 Posted in
  Tags:
Tags: Install a Fender Brace on Your First Generation (1993-2001) Subaru Impreza
Works For:
1993, 1994, 1995, 1996, 1997, 1998, 1999, 2000, 2001, 2002, 2003, 2004, 2005, 2006, 2007, 2008, 2009, 2010, 2011, 2012 Subaru Impreza Models
Source: i-club
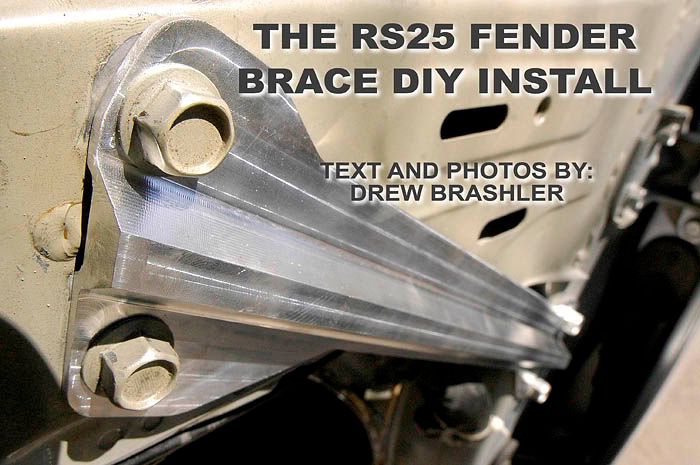
The RS25 Fender Brace DIY Install
Photos and Text by: Drew Brashler (yesitsdrew5310)
Disclaimer: Modification of your car involves risks and may void your warranty. I can not be held responsible for the modifications you consciously decide to undertake nor for the results of doing so.
Note: This modification was made to a 05’ Subaru Impreza 2.5 RS Wagon, other models installations may differ slightly.
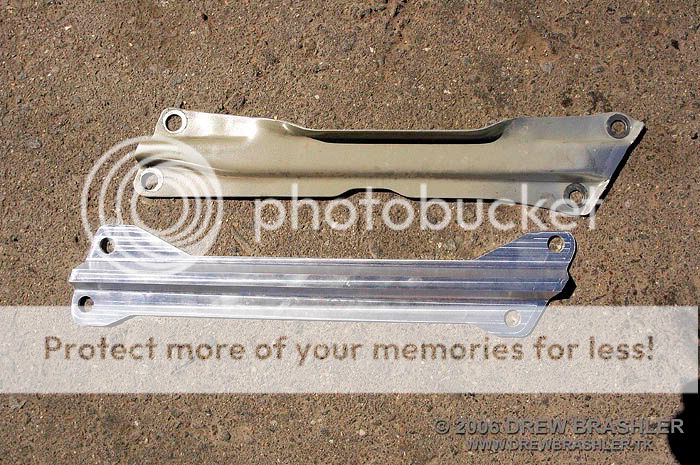
This install is using the Fender Braces made by JNorth85 on www.rs25.com. They are made out of 6061 T6 Aluminum and are modeled after the STi aftermarket braces. Here is the vendor thread where he is selling them: LINK. Subiegal did make a DIY Install, here is the LINK. But it is IMPOSSIBLE to install the fender brace on the 04-05 Wagon without removing the fender.
Tools Needed:
– 14mm Wrench
– 10mm Wrench
– 14mm Socket
– 10mm Socket
– Ratchet
– Phillips Screwdriver
– Flathead Screwdriver
– WD-40
Step 1 – Removal of Mud Flaps
Yay for Rally Armor Mud Flaps by the way. Bust out a Phillips Screwdriver and remove the screws holding these in.
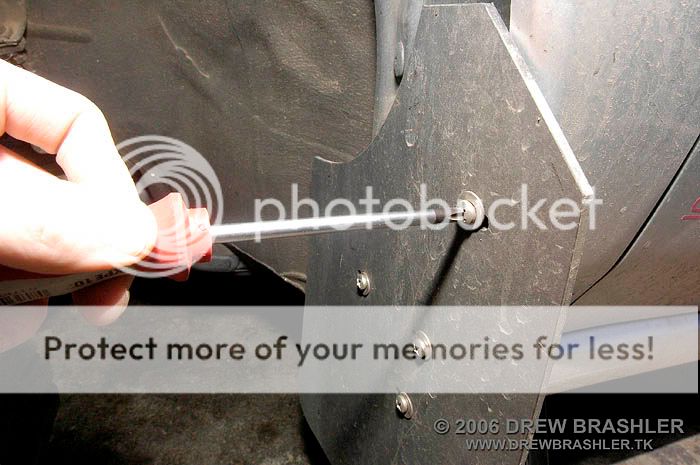
Step 2 – Removal of the Clips
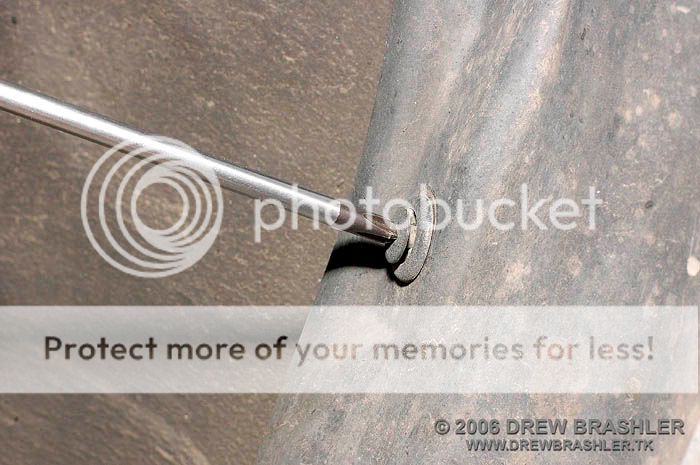
Locate all the clips in the wheel well. Now take out your Phillips and Flathead screwdriver.
With some of the clips you can use a Phillips to loosen them, and then pry at them to pull them out with a flathead.
Step 3 – Removal of the Fender Liner screw at the Top
There is one Phillips screw at the top of the wheel well. Remove this.
Step 4 – Removal of the Fender Liner Front Part
There are two clips underneath the bumper, pop out those two clips. Then gently pull the Fender Liner down as shown in the photo.
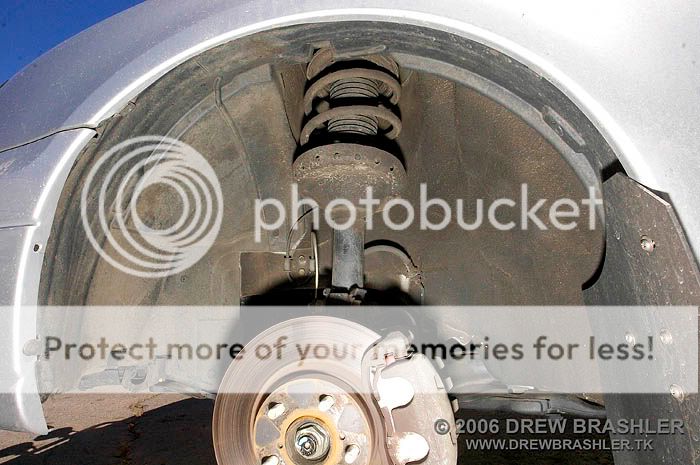
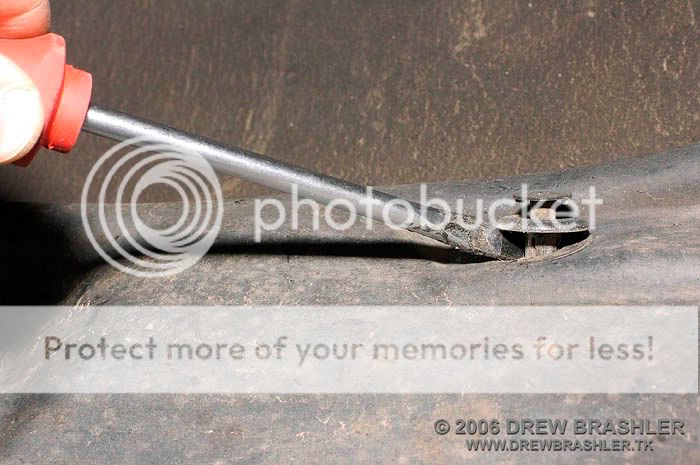
Step 5 – Removal of the Fender Liner
Gently pry the lip out behind the bumper and around the fender. Please be careful, the fender is very thin and very fragile.
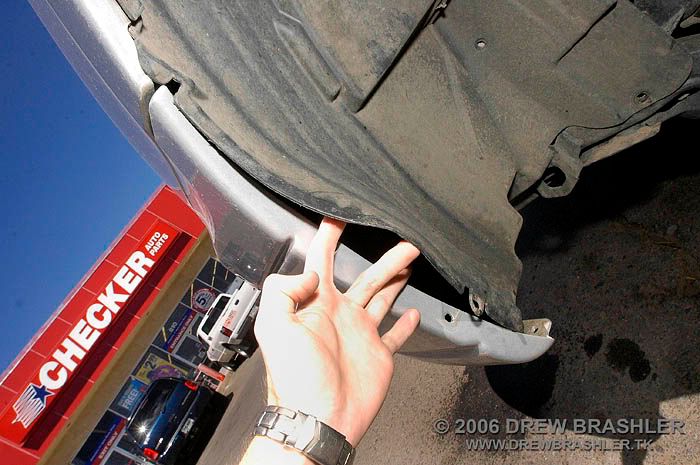
After this is out, set it to the side.

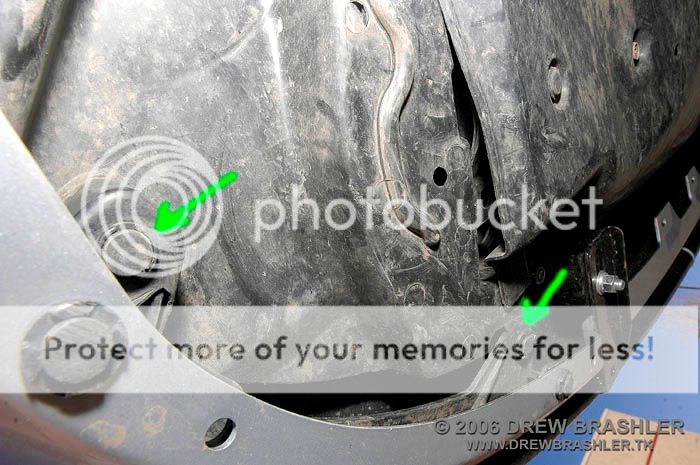
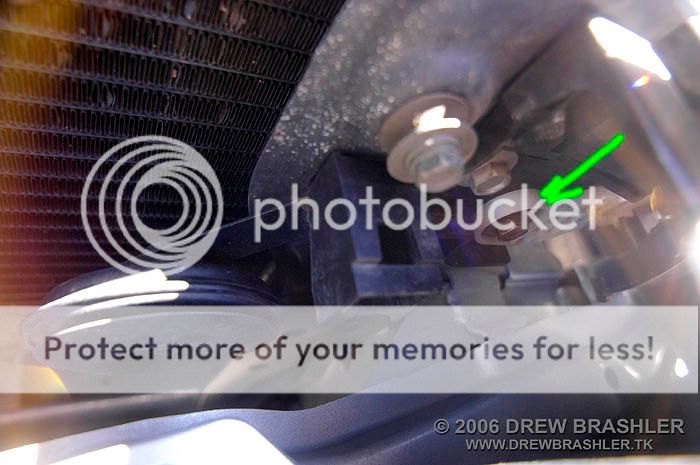
This is the moment where I noticed there is NOT enough room to take out the fender brace without taking the fender off. You can see there isn’t much room in the photo. There was about 1/8th of an inch between the bolt and the fender. The bolt itself happens to be around 1.5 inches.
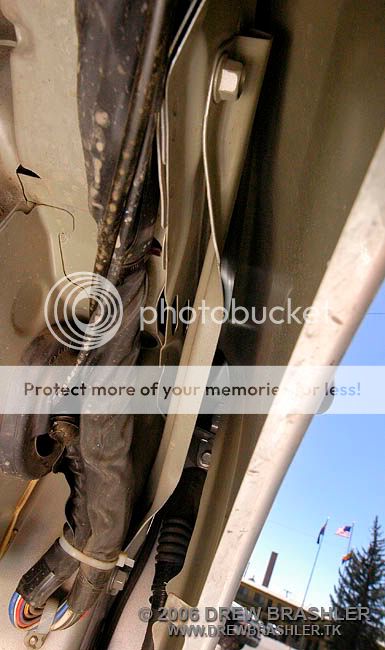
So now is the part where we remove the fender! Its not as hard as it seems. So just stick with me.
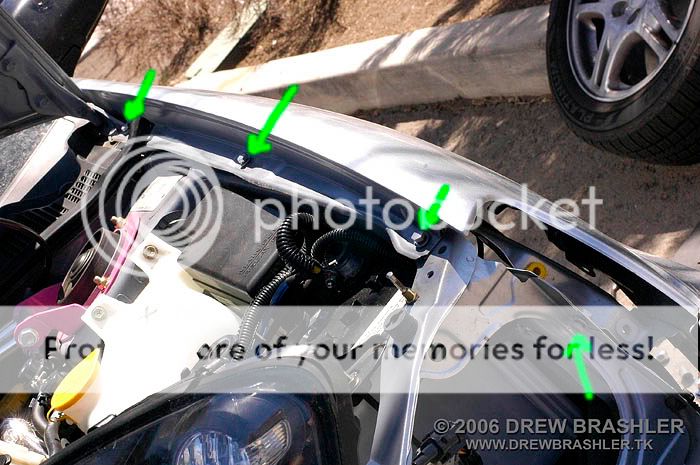
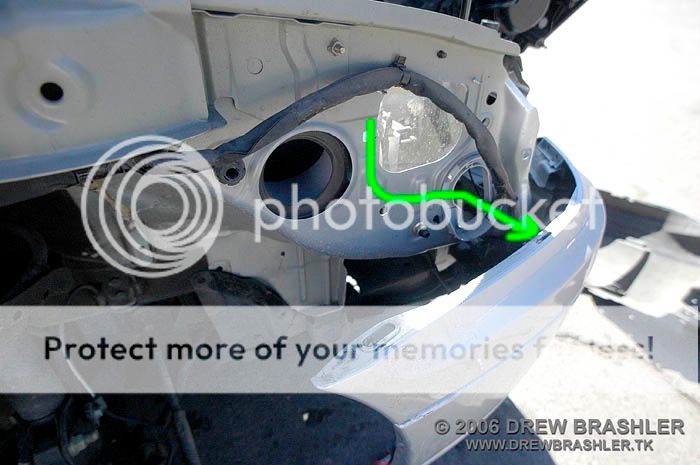
Step 6 – Removal of the Grill and Headlight
Get out your flathead screw driver and remove the grill. You remove it by pressing the tabs where the green arrows point to.
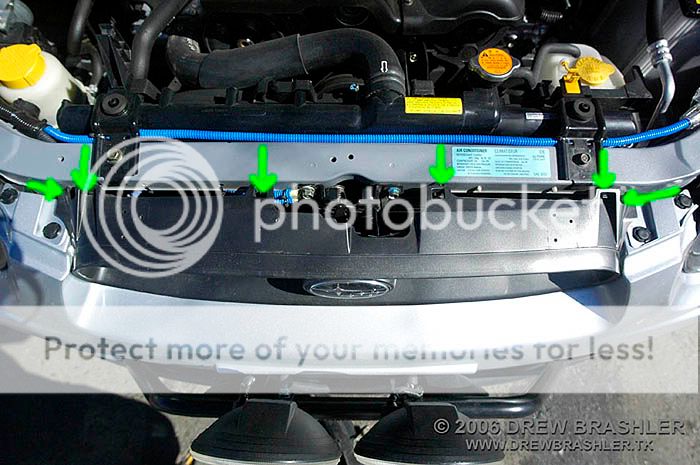
Next remove the 4 outside clips of the bumper with a flathead.
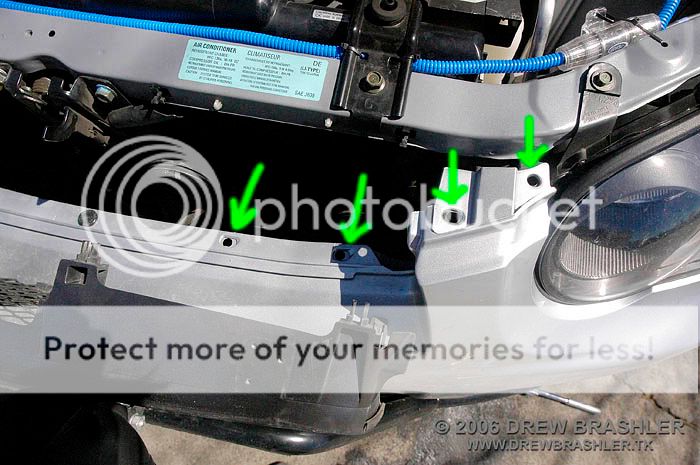
Grab your 10mm wrench and take out this bolt behind the bumper. You can access it through the opening where the grill was.
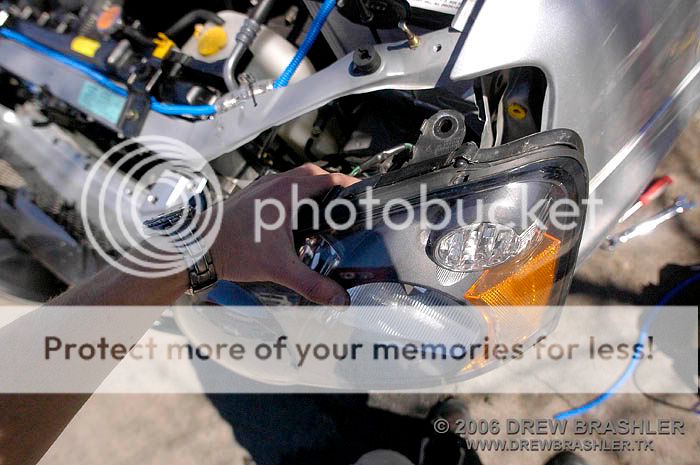
Then remove the top two 10mm bolts holding the light in. Now gently pull the light housing out of your car. There are 3 snaps, two on the outside, one on the inside.
Lastly there is one Phillips type clip holding the bumper to the fender. Remove this.
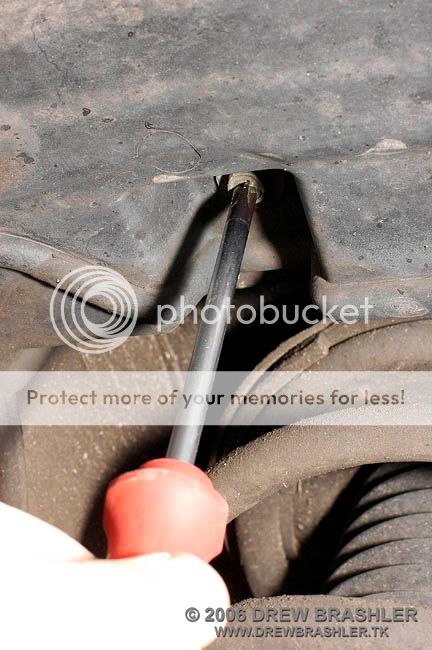
Step 7 – Removal of the Fender Bolts (rear)
Break out your 10mm wrench and your 10mm socket and ratchet. Open your door and remove the two bolts on the top and the bottom.
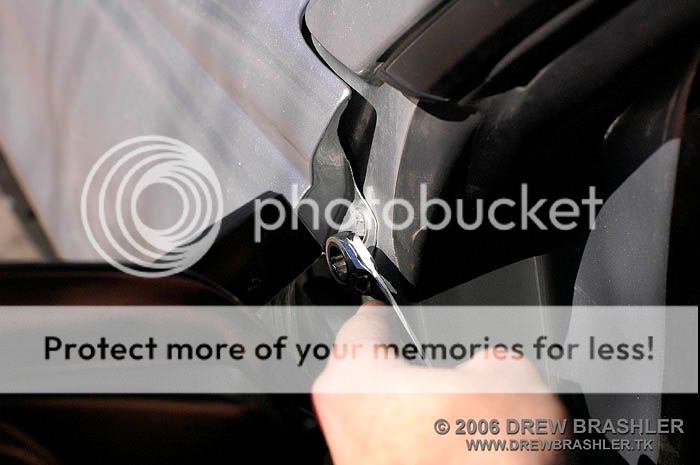
Then move to below the door. There is a bolt on the bottom of the fender right underneath the door.
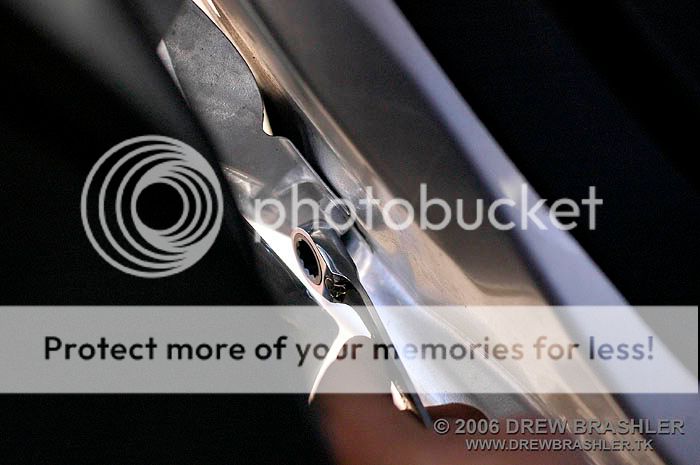
Step 8 – Removal of the Fender Bolts (front)
Use your 10mm Socket to remove the rest of the bolts.

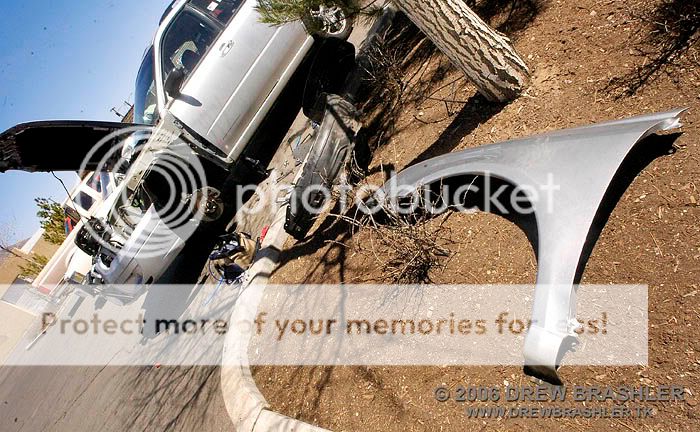
Step 9 – Removal of the Fender
Make sure you take your time with this next step. You can royaly mess up your door paint or bend your fender if you do this carelessly.
Anyway carefully remove the fender. I pulled out the rear part and then removed it toward the rear of the car. You will see what I mean when you do this.
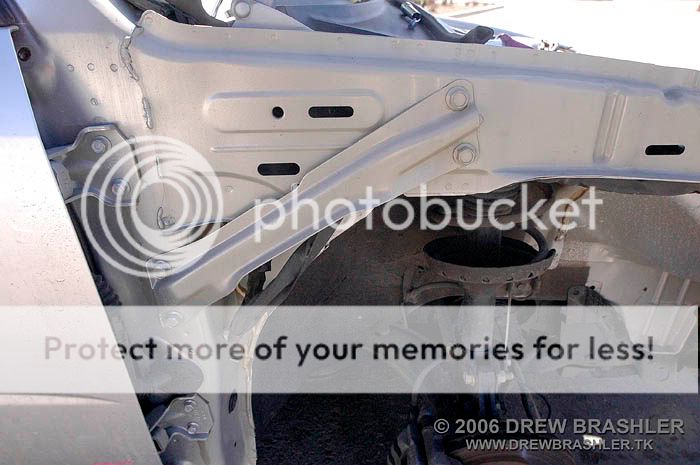
Step 10 – Removal of the OEM Fender Brace
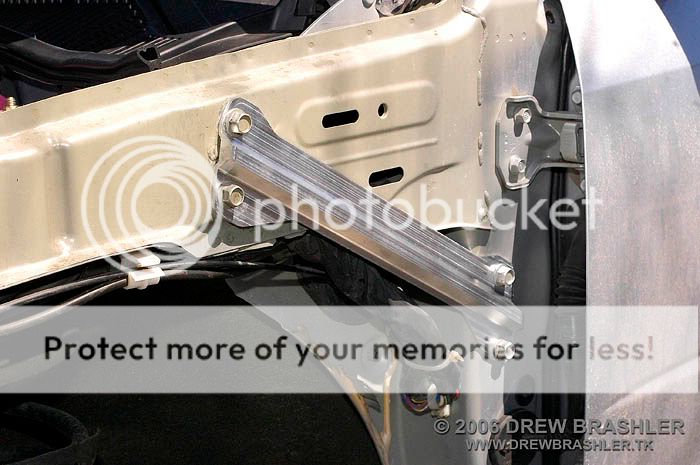
Now you can see the OEM Fender Brace, and this install is SIMPLE!
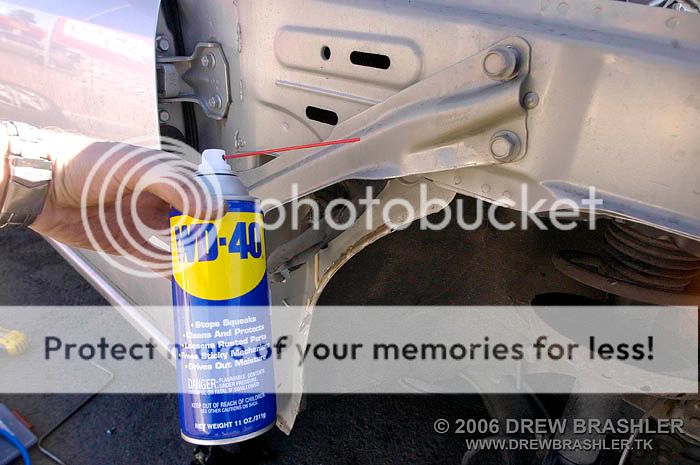
Step 11 – WD-40 Time
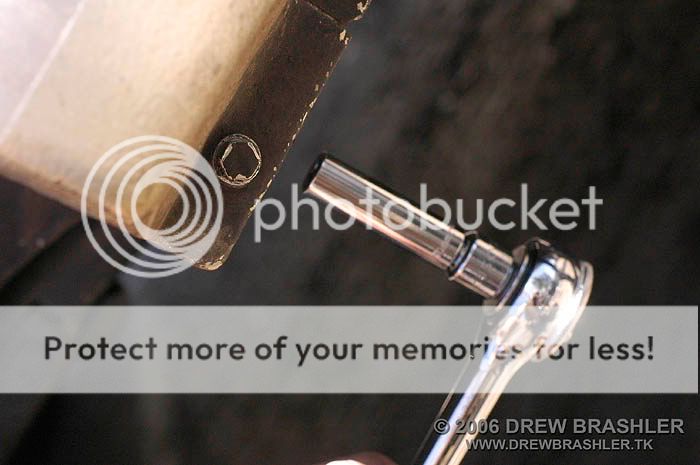
Bust out the WD-40 and spray all 4 bolts.
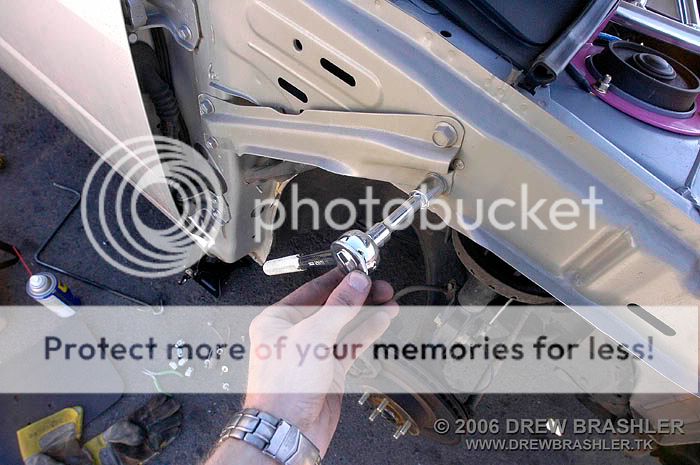
Step 12 – Removal of the OEM Fender Brace
Use a 14mm socket to break these bolts loose. They are pretty darn tight, so take your time. After you get the bolts off the fender brace should fall to the ground. Please place this in its new resting place… the trash.
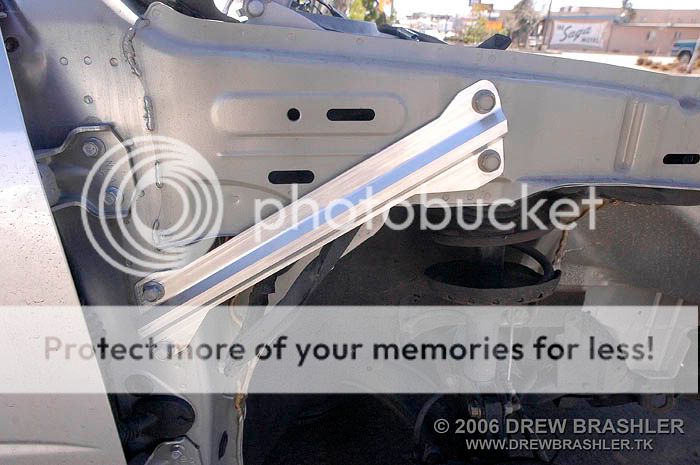
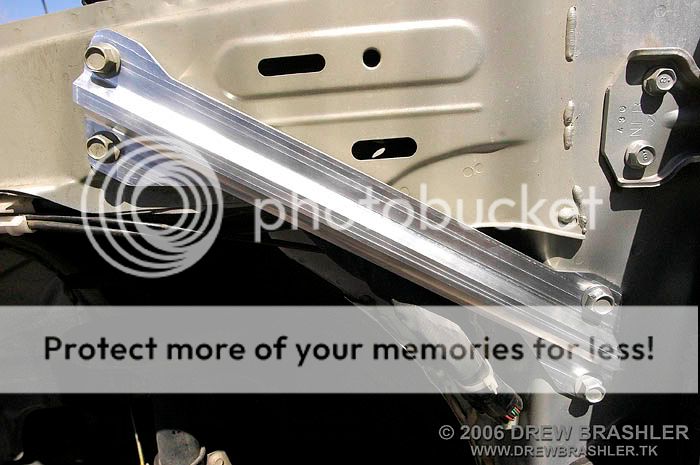
Step 13 – Install of the New Fender Brace
Line up the holes on the new Fender Brace and hand tighten the bolts. Next use your 14mm socket to tighten them down.
Step 14 – Re-installing of the Fender
If you look at the fender, there is a black part on it. This black part attaches to the bumper. You will want to put that black part in first and then line up the holes for the bolts to go into.
Step 15 – Re-installing Everything
Next re-install all the 10mm bolts holding the fender in. DO NOT over tighten these, they will break! Replace the light housing, and bumper clips.
Step 16 – Repeat Steps 1-15 On Other Side of Car
Repeat Steps 1-15 On Other Side of Car.
Step 17 – Replace the Grill
Replace the Grill. Now you are done!
Total time took me 4 hours (lunch was included in this time). It took me a total of 1 hour on the 2nd one. It feels as if the car is stiffer, but I haven’t been able to make a spirited drive yet to test it out. I will let you know.
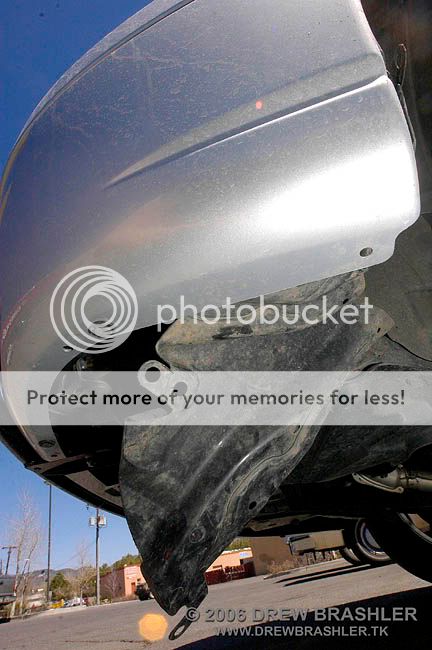
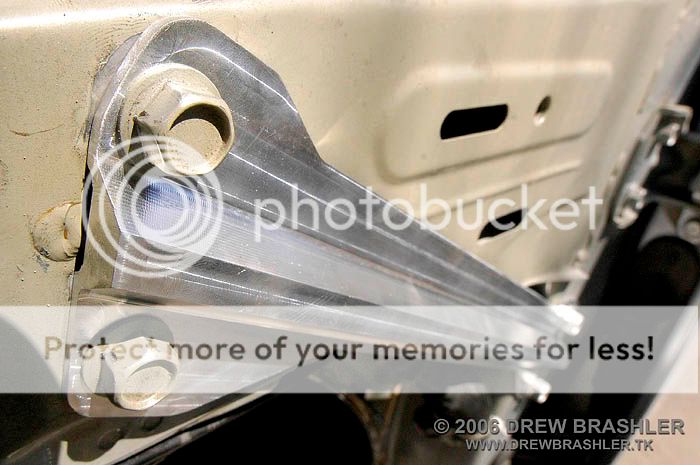
Here are more photos of the brace:


This concludes the DIY Installation for the RS25 Fender Brace. I hope this will help you or a friend of yours install their brace. If you have any questions, feel free to PM me.
Thanks for reading, and have a great day.
Drew Brashler