
 Posted in
  Tags:
Tags: Replace the Rear Wheel Hub/ Wheel Bearing on a First Generation (2005-2010) Scion TC
Works For:
2005, 2006, 2007, 2008, 2009, 2010 Scion TC Models
Source: ClubScionTC
This is my first DIY it was a very easy install, if you know how to replace your brakes or rotors then it should be even easier.
Useful Links on this thread, where to find new replacements:
http://clubsciontc.com/fo…ar-hub-replacement-38708/
If looking for used parts (a bit cheaper) go to a junk yard for our scion tC, also found out through research, 2000-2005 Toyota Celica and 2003-2008 Toyota Corolla are about the same thing bolt pattern, stud size Just make sure it sounds smooth and has ABS sensor
DISCLAIMER:
FIRST OF ALL I AM NOT RESPONSIBLE IF YOU BREAK YOUR OWN CAR. THIS IS SIMPLY A GUIDE TO HELP YOU ALONG YOUR INSTALL. DO NOT ATTEMPT DOING THIS IF YOU HAVE NO AUTOMOTIVE KNOWLEDGE OR DO NOT HAVE SOMEONE AROUND WITH THE KNOWLEDGE. ANY DAMAGE TO YOUR BRAKE OR HUB SYSTEMS IS VERY COSTLY AND COULD CAUSE SERIOUS INJURY IT’S WHAT HOLDS YOUR WHEEL ONTO YOUR CAR!.
What you’ll need is
-Rubber Mallet
-10mm socket
-12mm socket
-14mm socket
-Brake Cleaner
-breaker bar or air compressor or ratchet
-floor jack and stands
Optional: Bolt Buster Spray
(Will post pic of supply’s later)
Step 1) Loosen lug nuts on the wheel you are working on, use which ever socket your lugs need
Step 2) Put wheel chocks or wood in front of the front wheels so the car wont roll
Step 3)Lift vehicle and place on jack stands for rear wheels
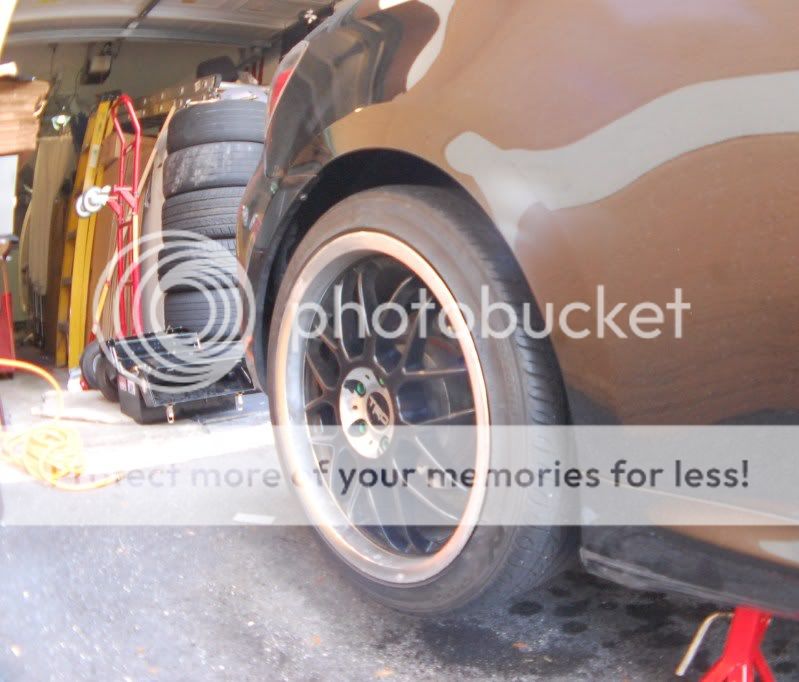
Step 4) Remove tire and place aside
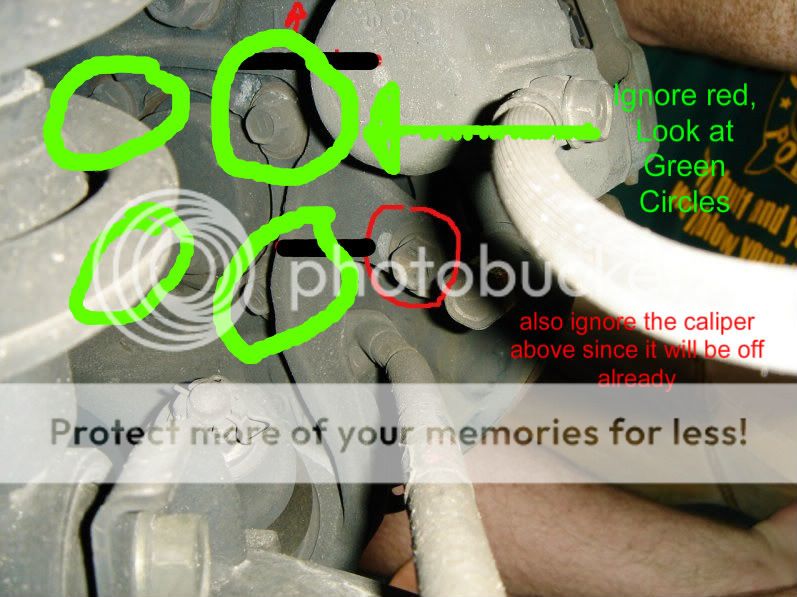
Step 5) look on the other side of the brake caliper, two bolts holding it in place which you’ll need 14mm Socket
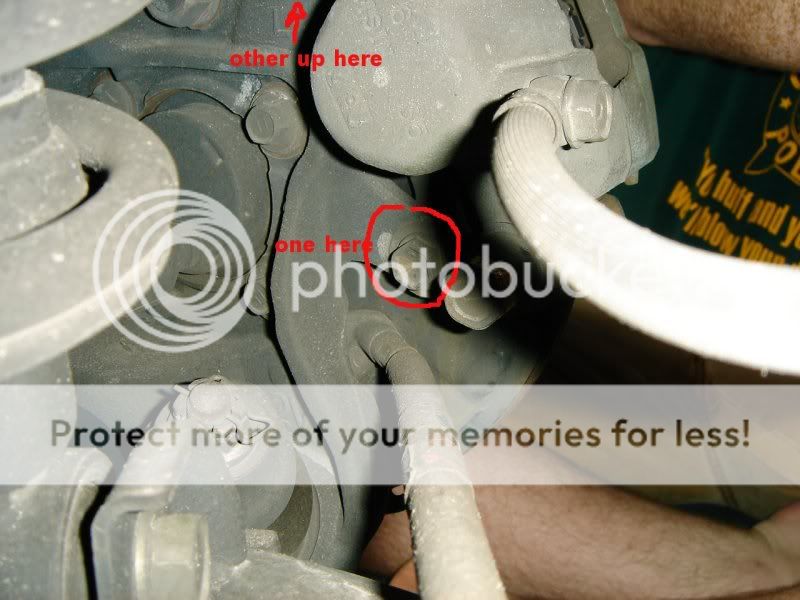
off comes the whole caliper assembly. make sure to suspend it from the spring (well out of your way) with a coat hanger or something up there with some wire. DO NOT LET THE CALIPER HANG BY THE BRAKE LINE, THIS=BAD!!! I placed it in the fender Pic below
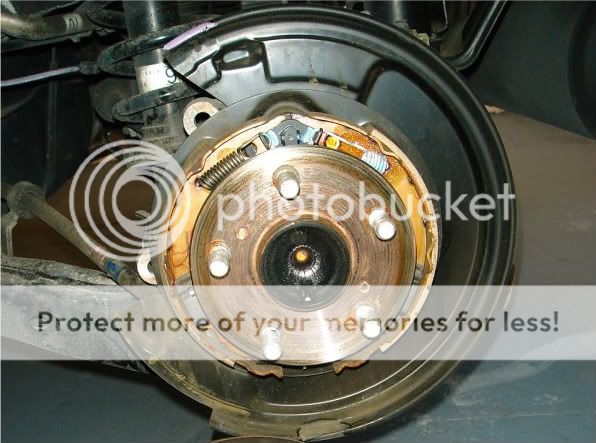
your rotor should look like this with out brake caliper
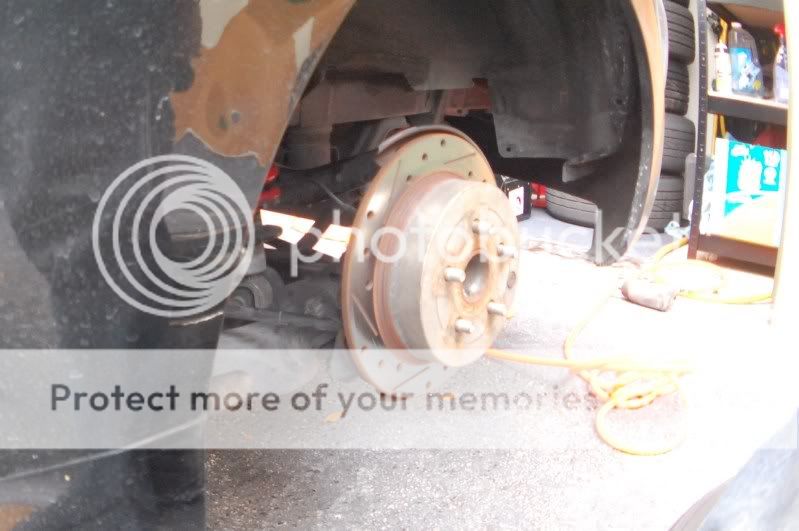
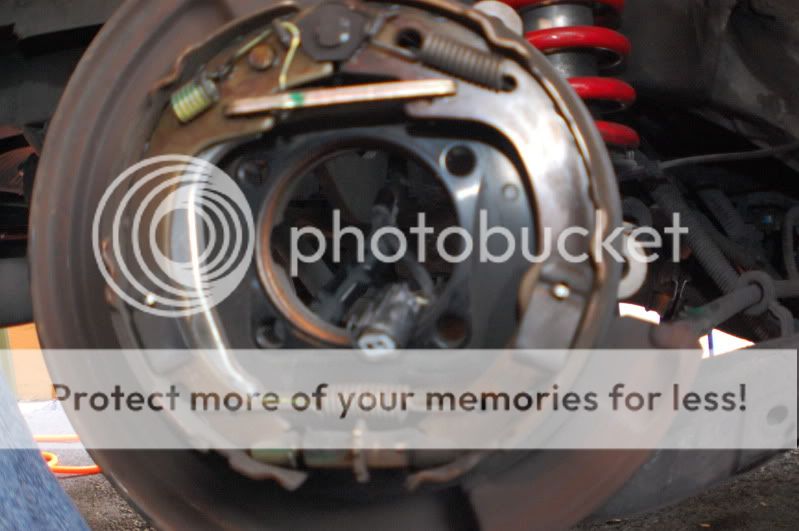
step 5) Please! Make sure your e-brake isn’t on!! Depending on how rusted your rotor is on it could be really really hard to take it off or really easy, For me one side came off with ease the other side i had to hit with the rubber mallet on the rotor until it comes off. (don’t worry your not damaging much since you’re replacing the hub/bearing) Once it’s off it’ll look like this (probably a bit more rusty or not)
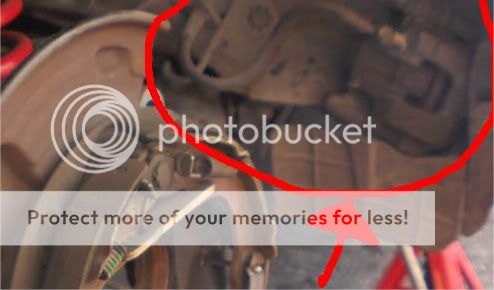
step 6) Now Behind the whole assembly you’ll need a 12mm socket take out the 4 bolts holding it,
Step 7) the sensor which is connect to the back of the hub/bearing needs to be taken off, The bracket bolt that’s holding it needs to be taken off by 10mm socket (sorry no pics) the gray sensor which is holding the clip, you’re going to have to pinch to take off(kind of difficult)
Step 8 ) Again depending on how much rust it will be hard to take off, so what you do is hit it with the rubber mallet, still not off? get that optional bolt breaker spray on where the bolts were(make sure not to get any on your e-brake pads) wait few mins, try moving it around. Took me awhile till I had them off, just keep trying once its off should like this

Step 9) Get your brake cleaner Spray inside of your rotor from any rust, let it sit make sure their isnt any rust or dirt
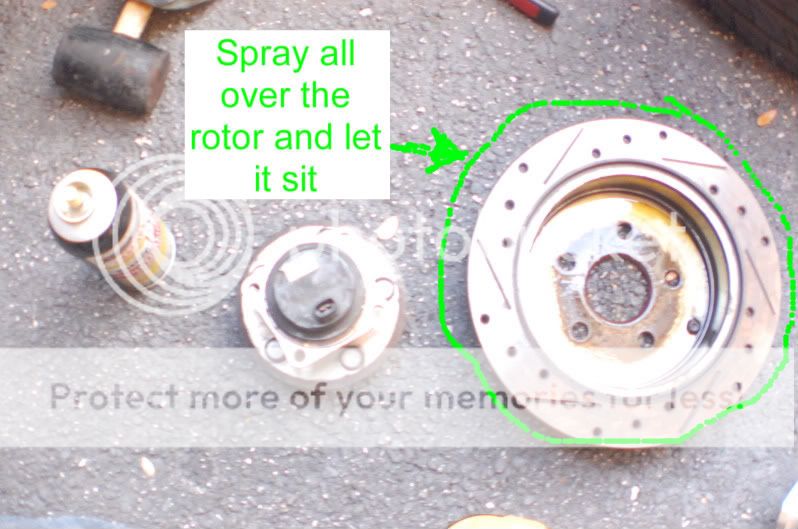
also spray where the hub/bearing was place from any rust or dirt, clean it dry it

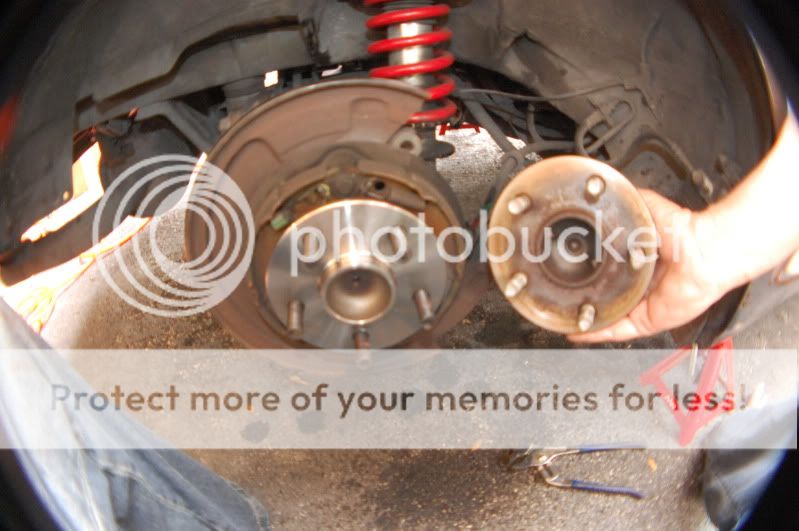
Step 10) Get your new Hub/Bearing replacement, place it where the old was screw in the bolts, should look like picture (compared with the old to the new)REMEMBER TO PLUG THE SENSOR BACK IN, and screw the bracket back with a 10 mm socket
Step 11) Dry off the rotor from any dirt, rust, grease or finger prints, pick it up from the outside, place it on the hub, now spray the brake cleaner again on the outside dry it.
Step 12) In My opinion, please clean your brakes with the cleaner too before you place it back on the rotor, (just in case you got dirt on the pads). Place it back where the bolts were holding it tighten it with 12mm socket. (sorry no pics will add more later)
Step 13) Your done and you just saved yourself a $200 at least by doing it yourself!
Notes:
-Any question go ahead and pm me,
-NOTHING needs to be pressed in
-took me a few hours mostly taking off the rotor and taking off the hub from the rust. -I used a breaker bar if I had air compressor, impact ratchet wrench and the impact sockets/attachments could of saved me more time.
-YES to know the your correct torque of the bolts you’ll need a torque wrench (which i did not have). If you have one more power to ya…
-If i missed something let me know I’ll add
-I did replace both sides
Link i found out to be useful about the same process as ours
http://www.diymytoyota.co…hub-assembly-replacement/